Archive | eat this

Boulangerie Tiffanie

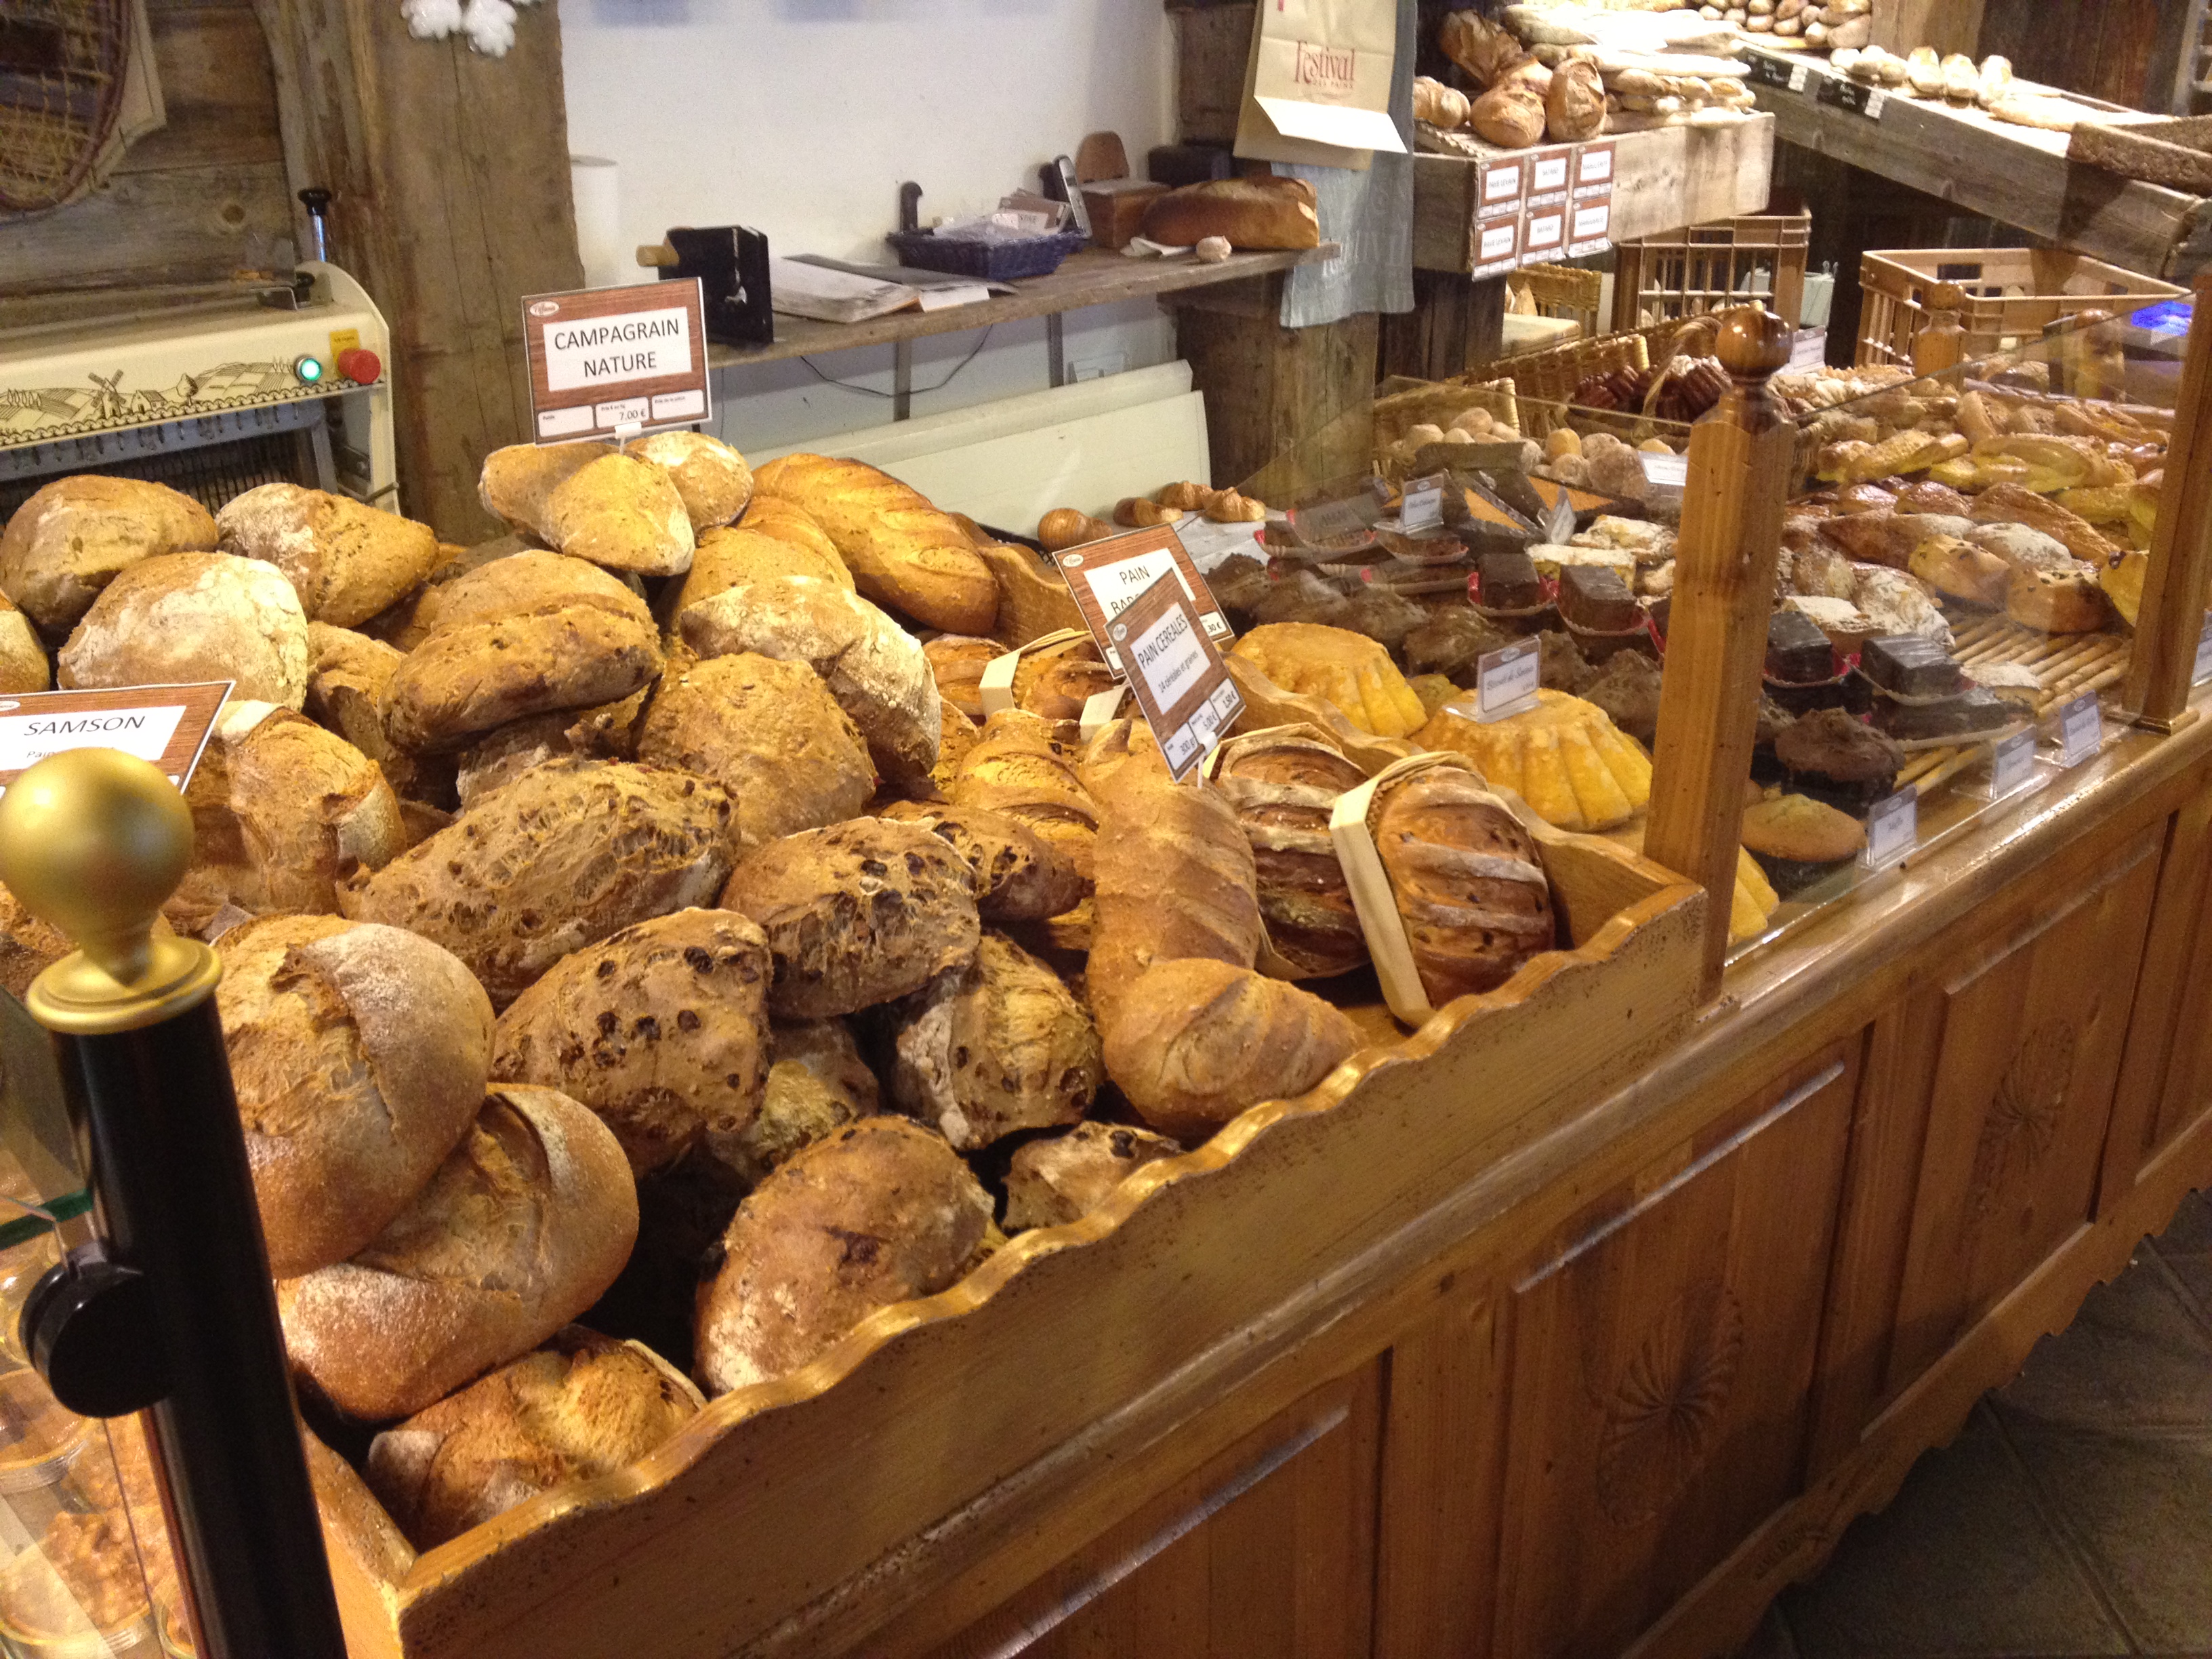
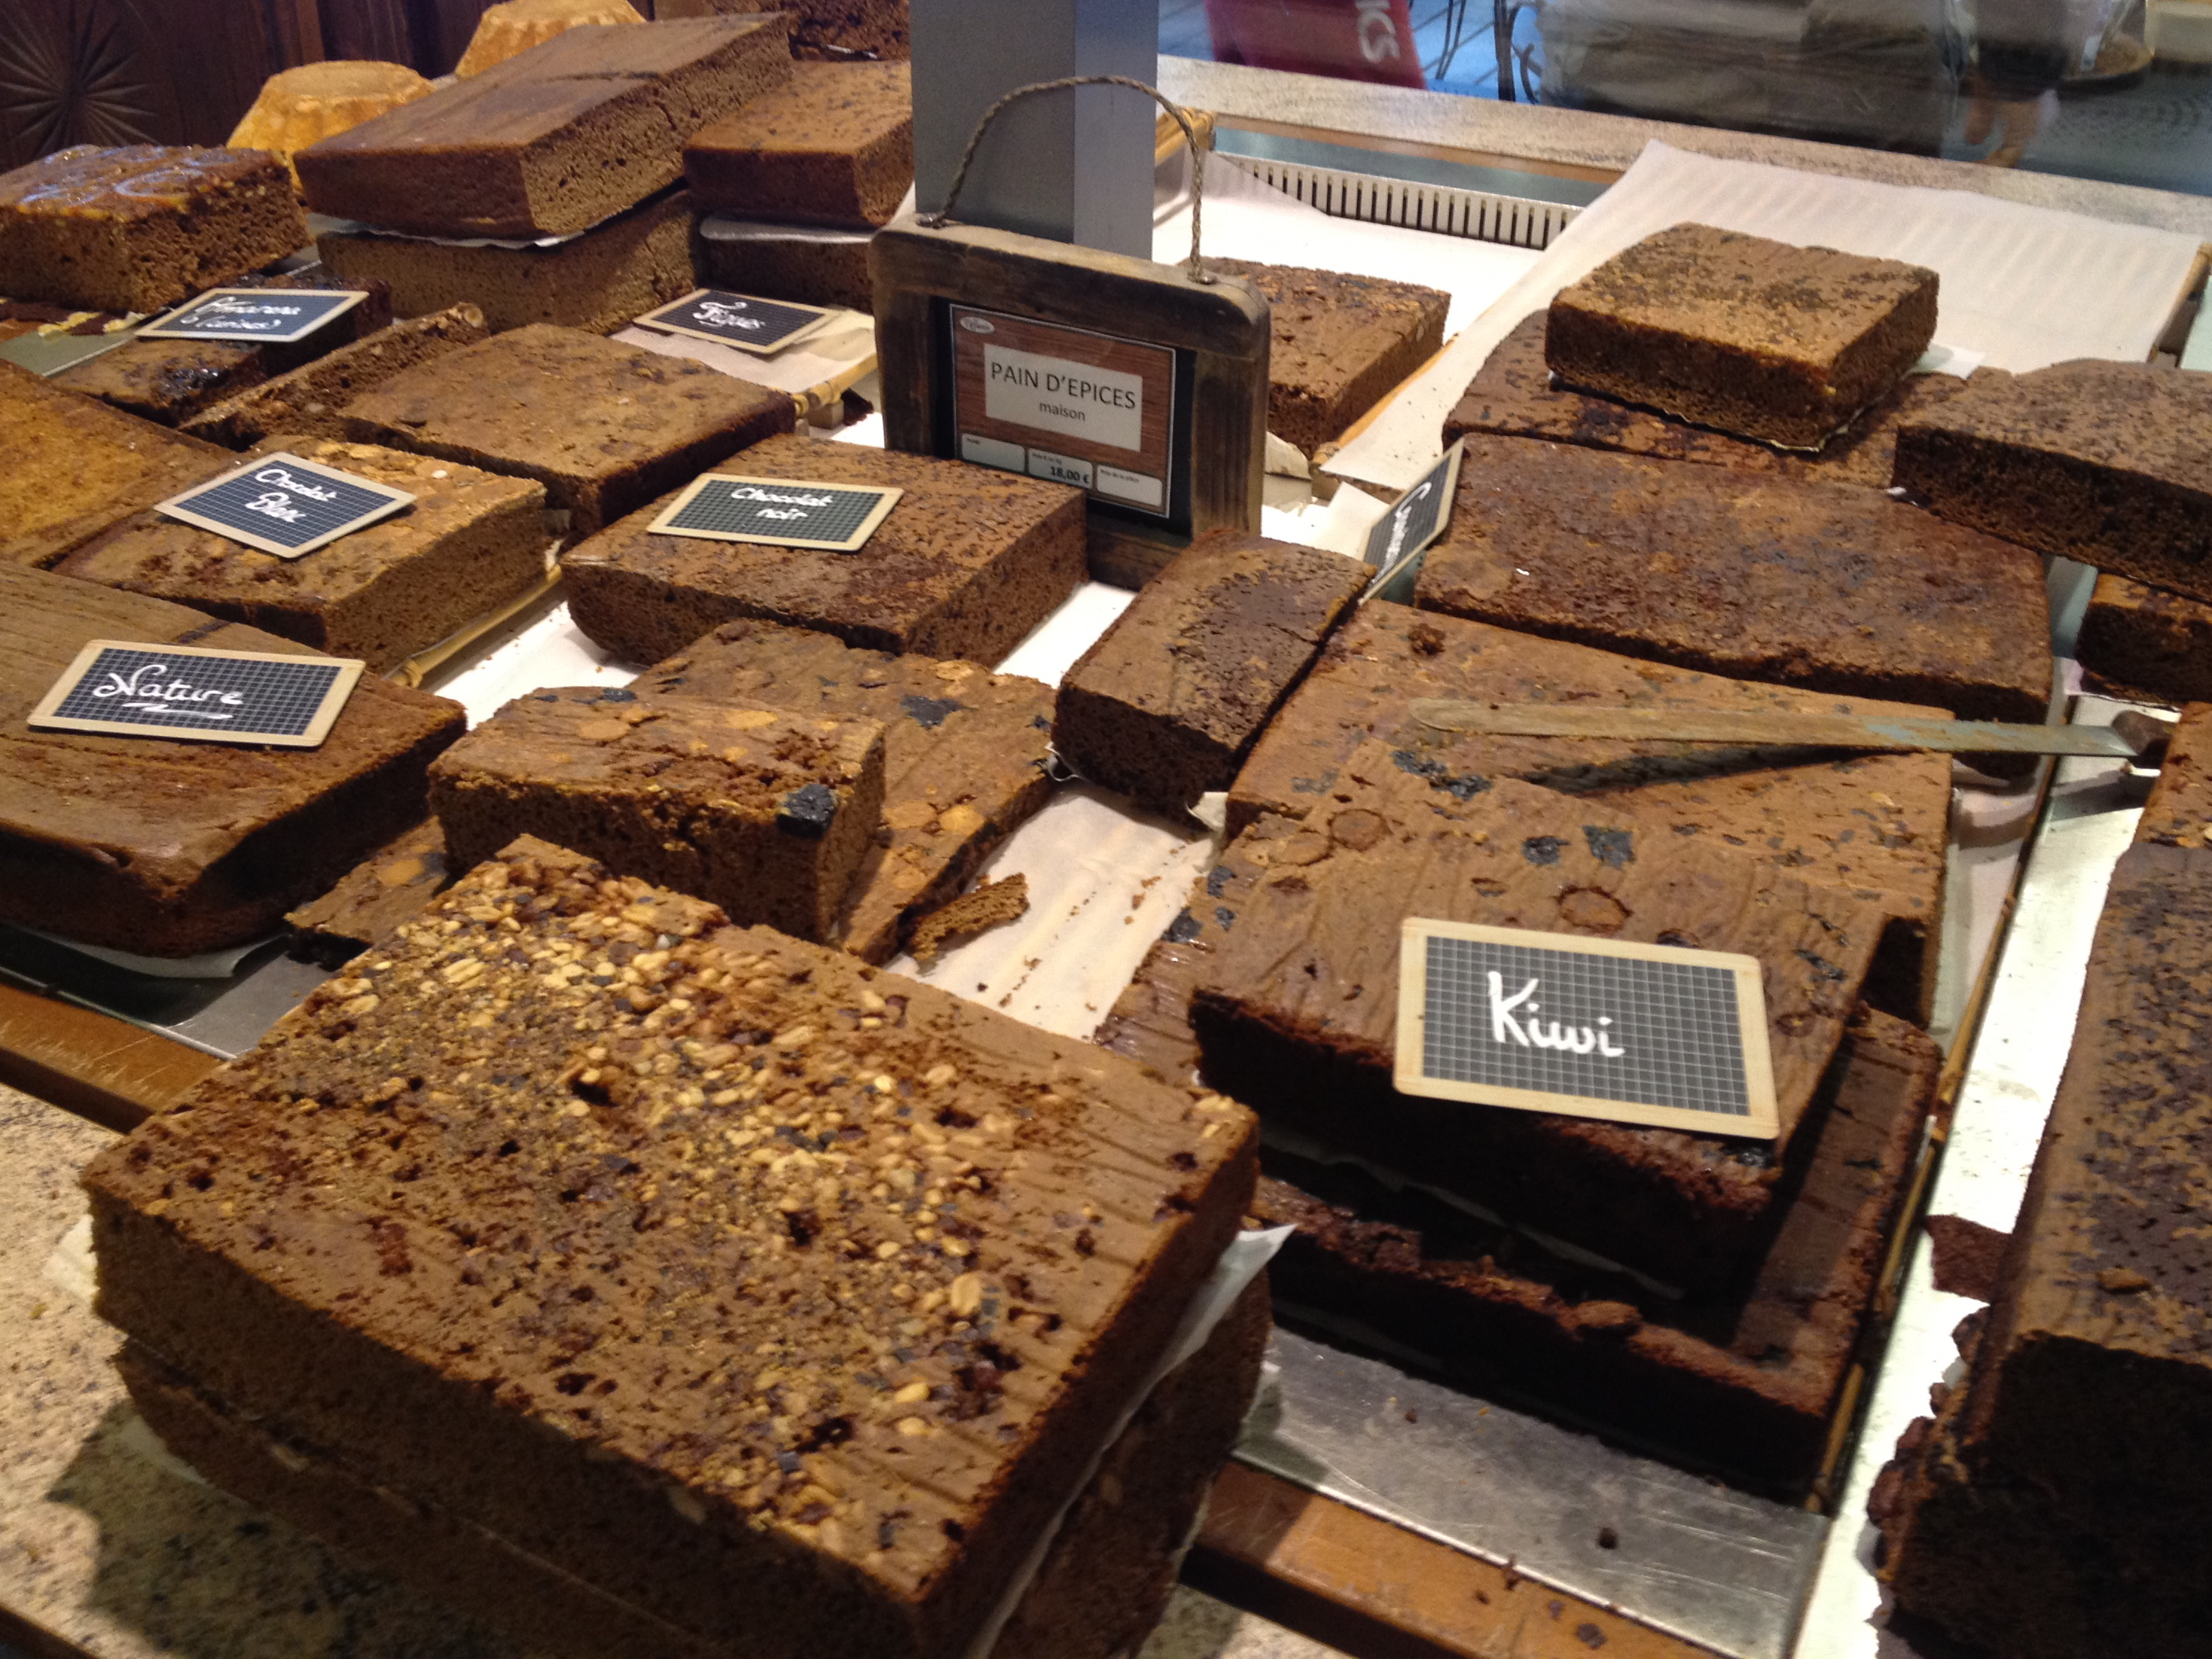
One of my favorite things to do while in France was visit a lovely little bakery (in French a boulangerie) for bread and baked goods.  Daniel recommended it to us as soon as we arrived, and Elliott and I took the early shift the next morning to Boulangerie Tiffanie to get baguettes for lunch and pain au chocolat (chocolate croissants) for breakfast.  That bakery was one of the most heavenly places I have ever seen in my life!  Elliott could hardly drag me outside after we made our requisite purchases.  I soaked in the incredible view surrounding the bakery while savoring the aromas in my mind.
The next day we dragged our whole family back for breakfast at Boulangerie Tiffanie, eager that they all experience the wonders of a French country bakery.  They were dressed for skiing and read to take the Grand Massif Express gondola up to the top of the mountain as soon as breakfast was over.  So, struggling through the slushy falling snow and under the weight of their skis, my family walked from the bus to the bakery.
And oh!  What wonders awaited them within!

Those gigantic white mounds behind the huge cookies in the photo are the biggest meringues I’d ever seen!

We bought a bag full of goodies and sat out on the warm porch to eat our breakfast.  Lena got to taste some too!

Elliott got a coffee and shared this blueberry cake with Emily and me.

The following morning everyone else was skiing while I was watching Lena.  We decided to head back to Boulangerie Tiffanie, where I stocked up on pain au chocolat and a baguette (which I would eat right before hitting the slopes myself that afternoon).  Lena discovered my baguette while we were waiting for the bus, though, and decided to try it herself!

I bought one other thing besides chocolate croissants and baguettes that day, though.  I bought a chocolate eclair, the real French thing.  It came in a little white bakery box and it was magnificent.  While Lena napped I sat in a cozy chair in the chalet, reading my book, sipping my coffee, and eating my chocolate eclair.  Perfect.

6 :: in eat this, family, friends, travel

Sicilian Orange Salad

We’re in the heart of the citrus season in Sicily!  The drooping branches in the orchards around our town have been relieved of their fruit and now there are boxes, crates, truckloads of oranges everywhere we look.  Our neighbors give us enormous cloth bags full of oranges, mandarins, and lemons anytime we ask.  I don’t know anyone who actually buys oranges; everyone is just giving them away.  The last time I visited my friend Becca I brought a huge reusable bag of oranges and left them in her kitchen.  The bag was so heavy with fruit that the strap broke on my way into her house.

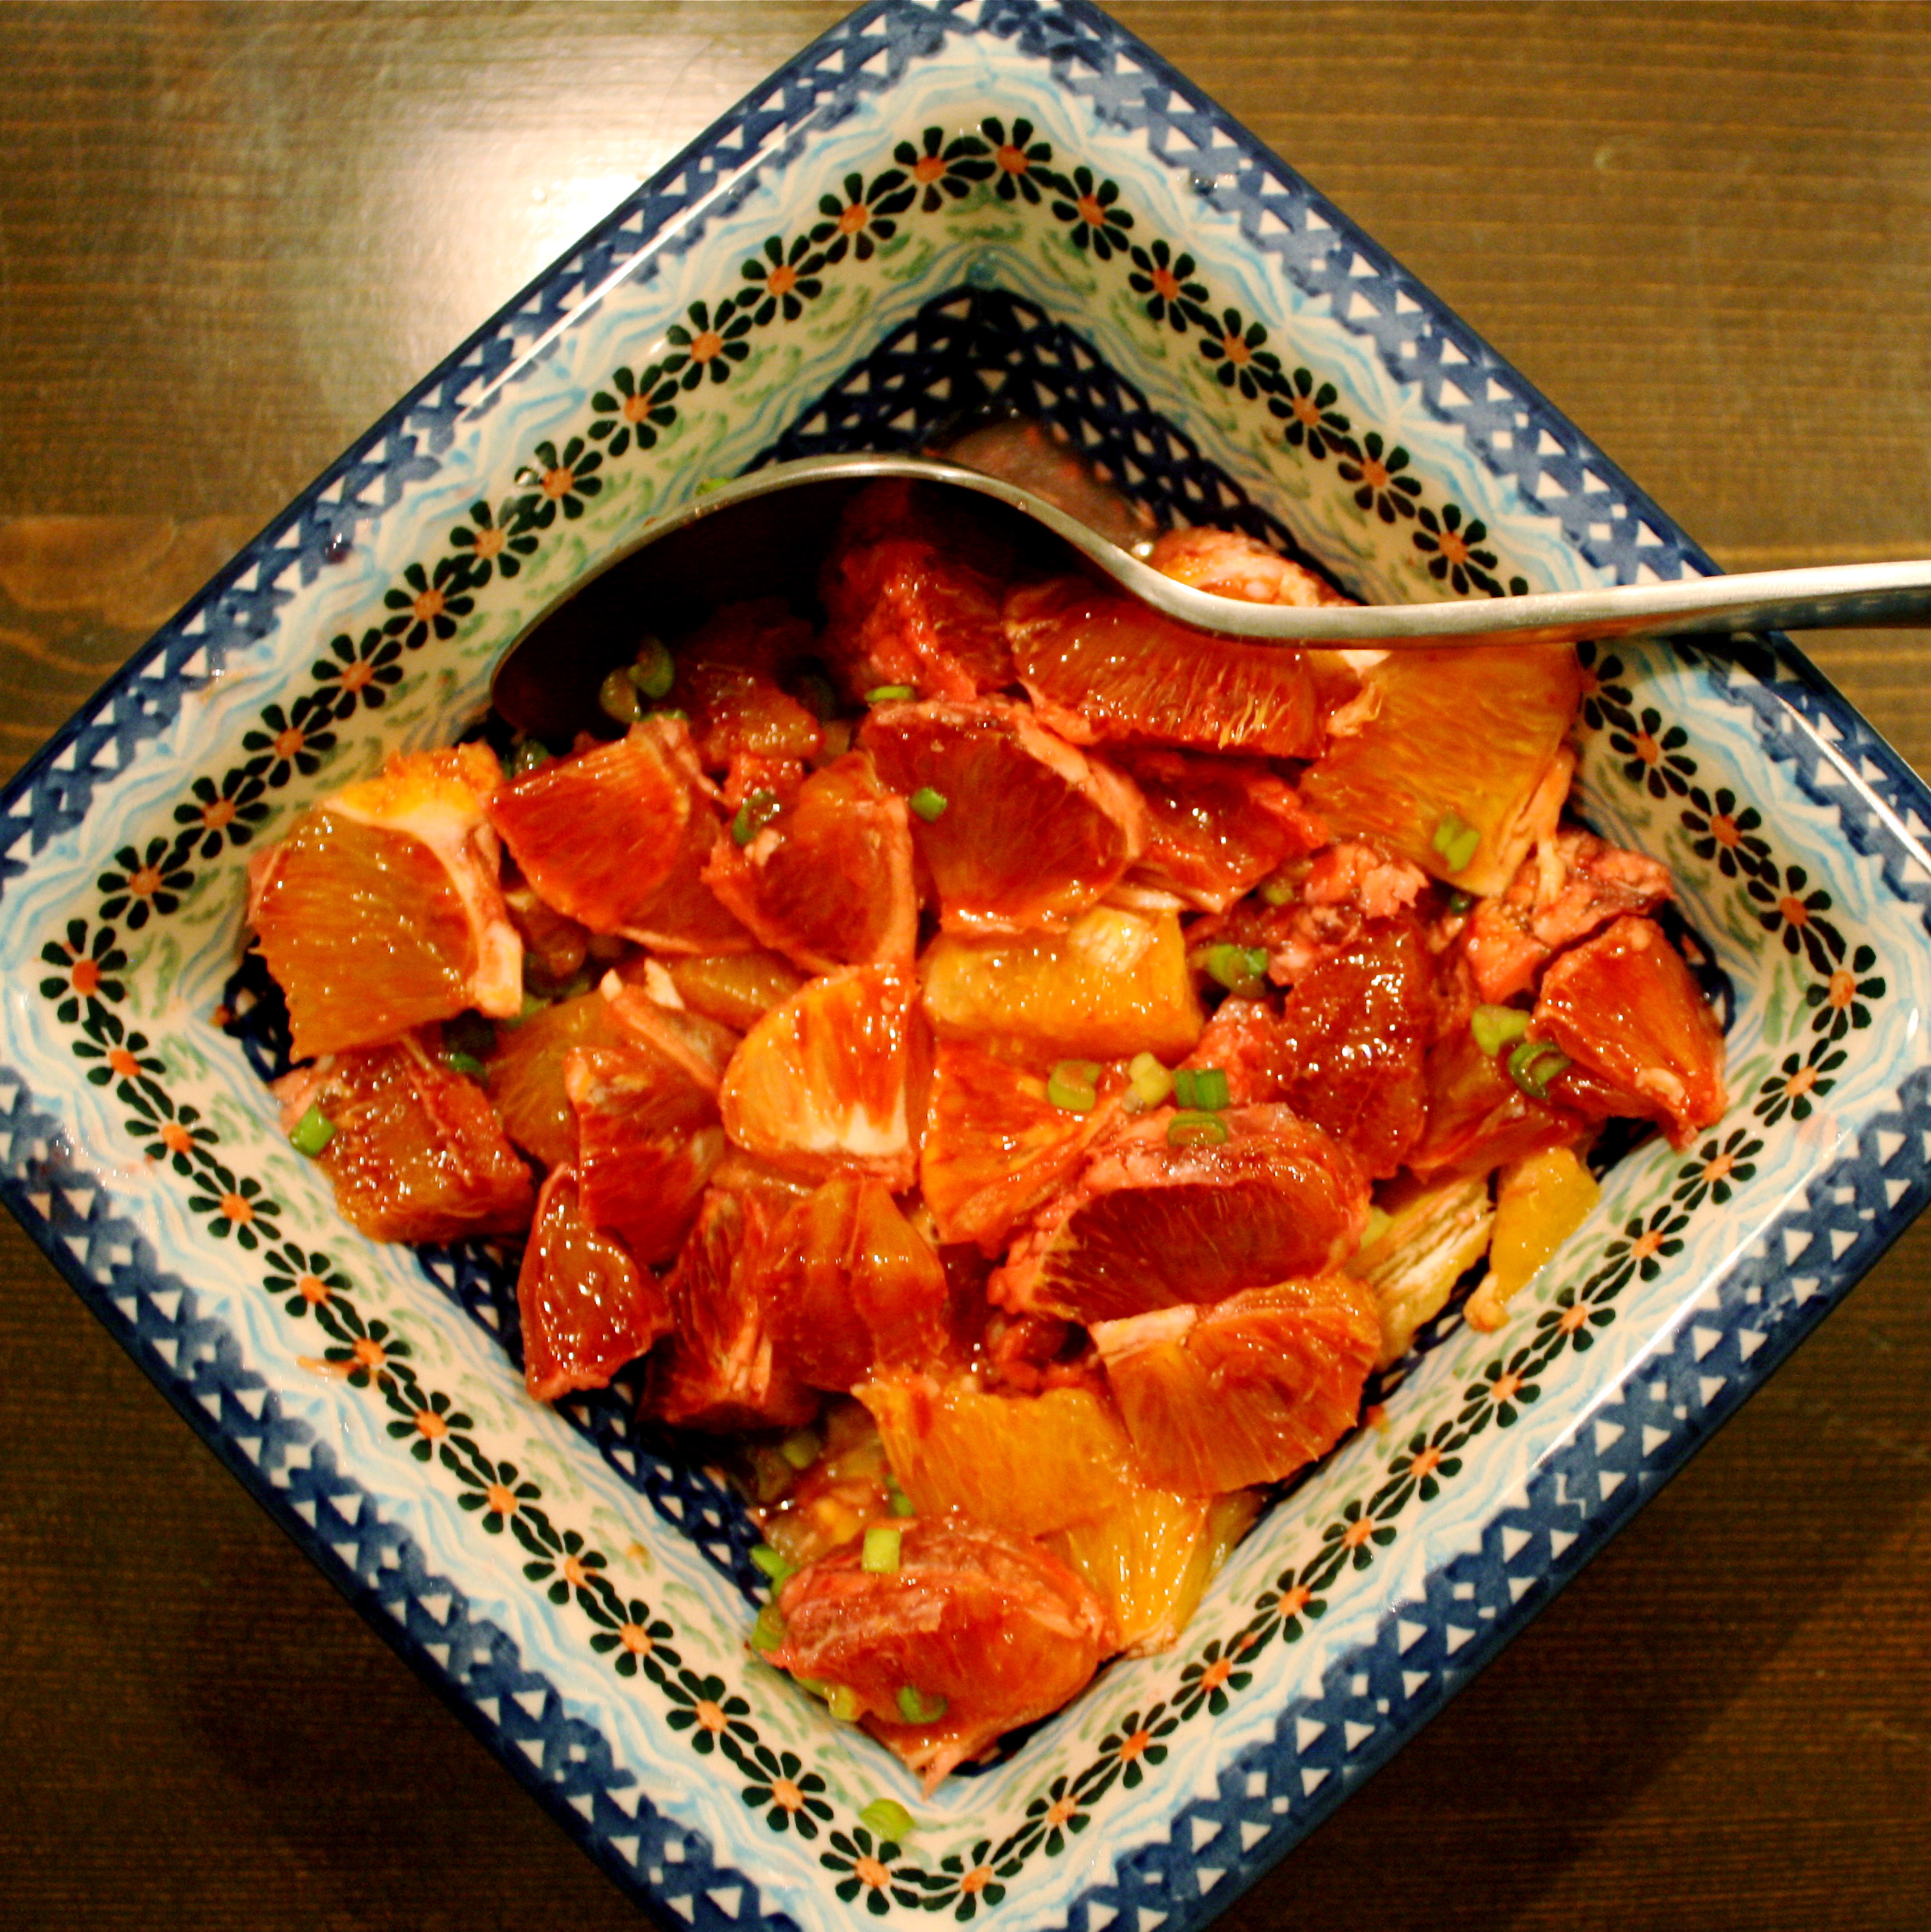
With so many oranges… how do you eat them all?  I’ve started making Sicilian Orange Salad as an accompaniment with our dinner each night.  I know blood oranges are hard to come by in other parts of the world, but this salad would be just as delicious with any type of orange.    

Another idea is to make jam from the oranges.  On Friday my friend is teaching a group of us how to can Sicilian Blood Orange and Strawberry Marmalade.  Can’t wait to try that one on some fresh homemade bread!

Sicilian Orange Salad
Serves 2… generously!
Ingredients
  • 4 blood oranges, peeled and cut into bite-sized pieces
  • 1 green onion, finely chopped
  • 2 teaspoons olive oil
  • a splash of balsamic vinegar
  • a dash of salt  

Combine all ingredients.  Let sit for 10-30 min before serving to enhance flavor.  Eat the whole salad with the meal if possible; the salt leaches the juice from the oranges and leftovers are not as tasty as the fresh salad!

3 :: in eat this, Italy, Sicily

eye candy

Elliott isn’t such a big fan of sweets but I really really really am.  Elliott is, however, a fan of home-baked goodies.  So perhaps that is why, to satisfy our two cravings, I have made whole grain bread and zucchini bread and oatmeal-chocolate chip cookies and these cupcakes this week.  Overkill, right?  Definitely satisfied the sweet tooth, right?  Maybe not.  Tomorrow I’m going to make a double-layer Valentine’s Day cake for another event!

I love these cupcakes, though.  They were red velvet with cream cheese frosting and were a total hit at the women’s Bible study this week.  I left a few at Elliott’s vet clinic, too.  None of them came home.  Which made me very glad that I’d smuggled a couple home for us* to enjoy that evening.

For those of you who are inspired to make some Valentine’s Day goodies, here’s the recipe I used.  It is from the wonderful cooking blog Simply Recipes:

Red Velvet Cupcakes with Cream Cheese Frosting
Yield: makes about 2.5 dozen cupcakes

Ingredients

  • 1 1/2 cups of sugar
  • 1/2 cup (1 stick) of butter, room temperature
  • 2 eggs, room temperature
  • 2 1/3 cups of cake flour
  • 2 tablespoons of Dutch-processed cocoa powder
  • 1 teaspoon of baking soda
  • 1 teaspoon of baking powder
  • 1/2 teaspoon of salt
  • 1 cup of buttermilk*
  • 1 1/2 tablespoons of red food coloring
  • 1 teaspoon of vanilla extract
  • 1 teaspoon of distilled white vinegar

Frosting ingredients

  • 1/2 cup of butter (1 stick), room temperature
  • 8 oz of Philly cream cheese (1 package), room temperature
  • 2 – 3 cups of powdered sugar
  • 1 teaspoon of vanilla extract

*You can make your own buttermilk by adding a tablespoon of distilled white vinegar to milk and letting it stand for about 10 minutes.

Directions

The Cupcakes

  • Preheat the oven to 350°F. Beat the butter and sugar in an electric mixer for 3 minutes on medium speed until light and fluffy.
  • Add the eggs, one at a time, beating until each is fully incorporated. Be sure to scrape down the sides of the bowl to ensure even mixing. 
  • In a large bowl, sift together the cake flour, cocoa powder, baking soda, baking powder, and salt. In another bowl whisk together the buttermilk, vinegar, vanilla extract, and red food coloring.
  • Add a fourth of the dry ingredients and mix, then add a third of the wet. Continue adding in a dry, wet, dry pattern, ending with the dry ingredients. 
  • Scoop into cupcake papers, about 1/2 to 3/4 of the way full. Bake for 18-22 minutes or until a toothpick comes out clean. Rotate the pan after the first 15 minutes of baking to ensure even baking.
  • Allow to cool for one minute in the pan then transfer to a wire rack to cool completely.
The Frosting

  • Cream the butter and cream cheese together, about 3 minutes. Scrape down the sides and bottom of the bowl to ensure even mixing.
  • Add the vanilla extract and mix.
  • Add the powdered sugar, continually taste to get to desired sweetness. 
  • Pipe onto cooled cupcakes.

*I ate both of them.

    2 :: in eat this

    Becoming a Stay-at-Home Mom: taking down Christmas

    Elliott and I have only celebrated two Christmases together as a married couple.  Last year over Christmas we were visiting Israel while Elliott was deployed to Egypt.  No Christmas decorations on that trip!  This year was the first we had a Christmas tree. 

    Of course, after the Christmas season is over, someone has to take down the Christmas tree, the ornaments, the garlands, the wreaths, the Nativity… it really can take awhile, can’t it?  Usually even after all that’s done, there are still remnants of Christmas here and there.  Such as jars of candy canes sitting on your kitchen counter.  For weeks.

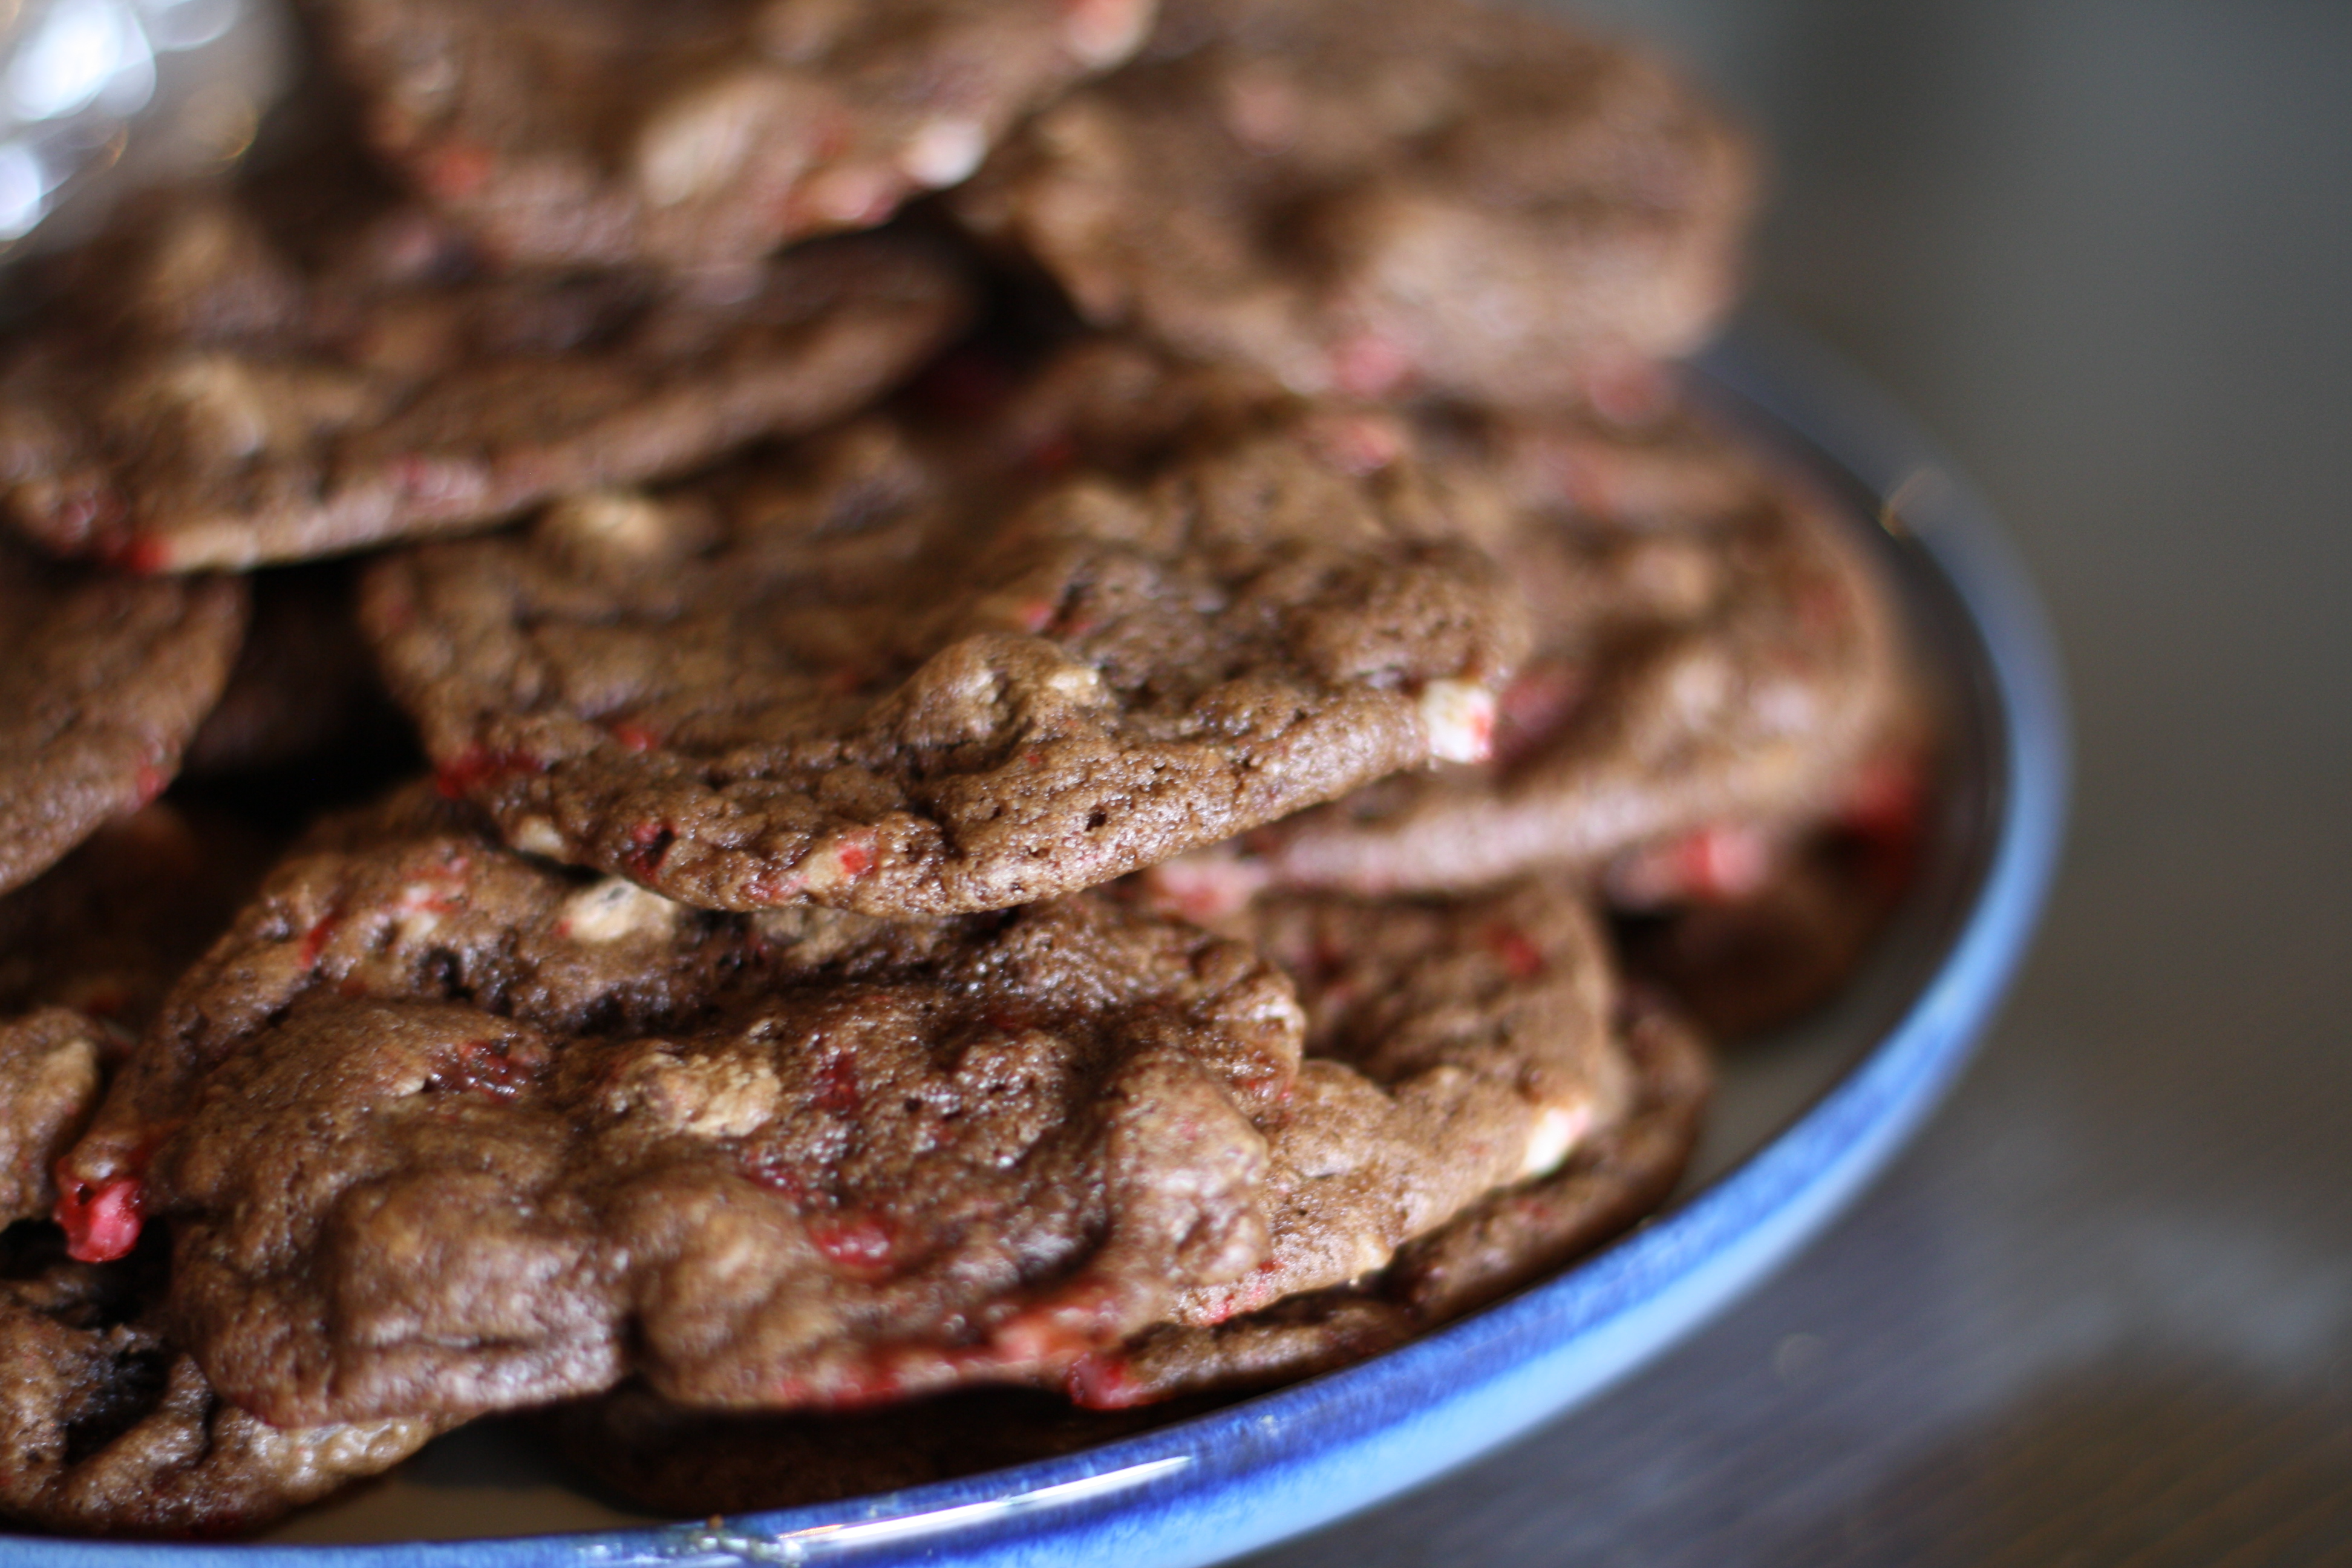
    Fortunately, I had a plan for these sweet little leftovers.  The idea came from my friend Joy, who is a fellow resident of Sicily and has a wonderful cooking blog that is well-stocked with true Italian recipes.  With her permission, I’m sharing her own recipe for Peppermint Bark Chocolate Cookies.  I made them the other day and we devoured them in much less time than I care to relate!

    Peppermint Bark Chocolate Cookies  
    Ingredients
    • 3/4 cup butter softened
    • 3/4 cup granulated sugar
    • 3/4 cup firmly packed dark brown sugar
    • 2 large eggs
    • 1 1/2 tsp. vanilla
    • 3/4 cup cocoa
    • 1 1/2 cup plus 2 Tbsp. all purpose flour
    • 1 tsp. baking soda
    • 3/4 tsp salt
    • 12 large candy canes or 6 oz. peppermints crushed into pieces (make sure not to crush too much or it will become powdery)
    • 1 (12 oz.) bag white chocolate chips
    Directions
    • Preheat oven to 350 F.
    • Beat butter and sugars at medium speed until creamy.
    • Add eggs and vanilla, beating until blended.
    • Combine flour, baking soda, cocoa, and salt in a small bowl; gradually add to butter mixture, beating just until blended.
    • Beat in candy canes and white chocolate chips just until combined. 
    • Drop using a 2 tbsp. scoop onto parchment paper-lined baking sheets. Bake 10-14 minutes. I bake them 12 minutes). 
    • Remove to wire racks and cool completely (about 15 minutes).

    P.S. With the flecks of red-and-white mixed in with chocolate decadence, who says these can’t double as Valentine’s Day goodies too?  Enjoy!

    4 :: in arts and crafts, eat this, holiday

    “Here we come a-wassailin’…”

    Before our Christmas party I did a long hard search for the perfect wassail recipe.  Well, I’m not sure I came up with the best, but I did find a delicious recipe for Christmas wassail.*  I served it to our party guests, I served it to my family, I served it to dinner guests, and I watched as every drop was drained from the pot each time.

    Since then this wonderful wassail has become my drink of the winter.  I make a new pot every week, store it back in the cider jug in our fridge, and heat up a mug or two for myself each day.  It’s a satisfying, spicy drink that I can tote around our house throughout these chilly winter days, sipping on it as I play with Lena or knit and read or work on a blog post.

    Would you like to learn how to make it?  Well then, I took some photos of the process just for you!

    First start with a gallon of apple cider.

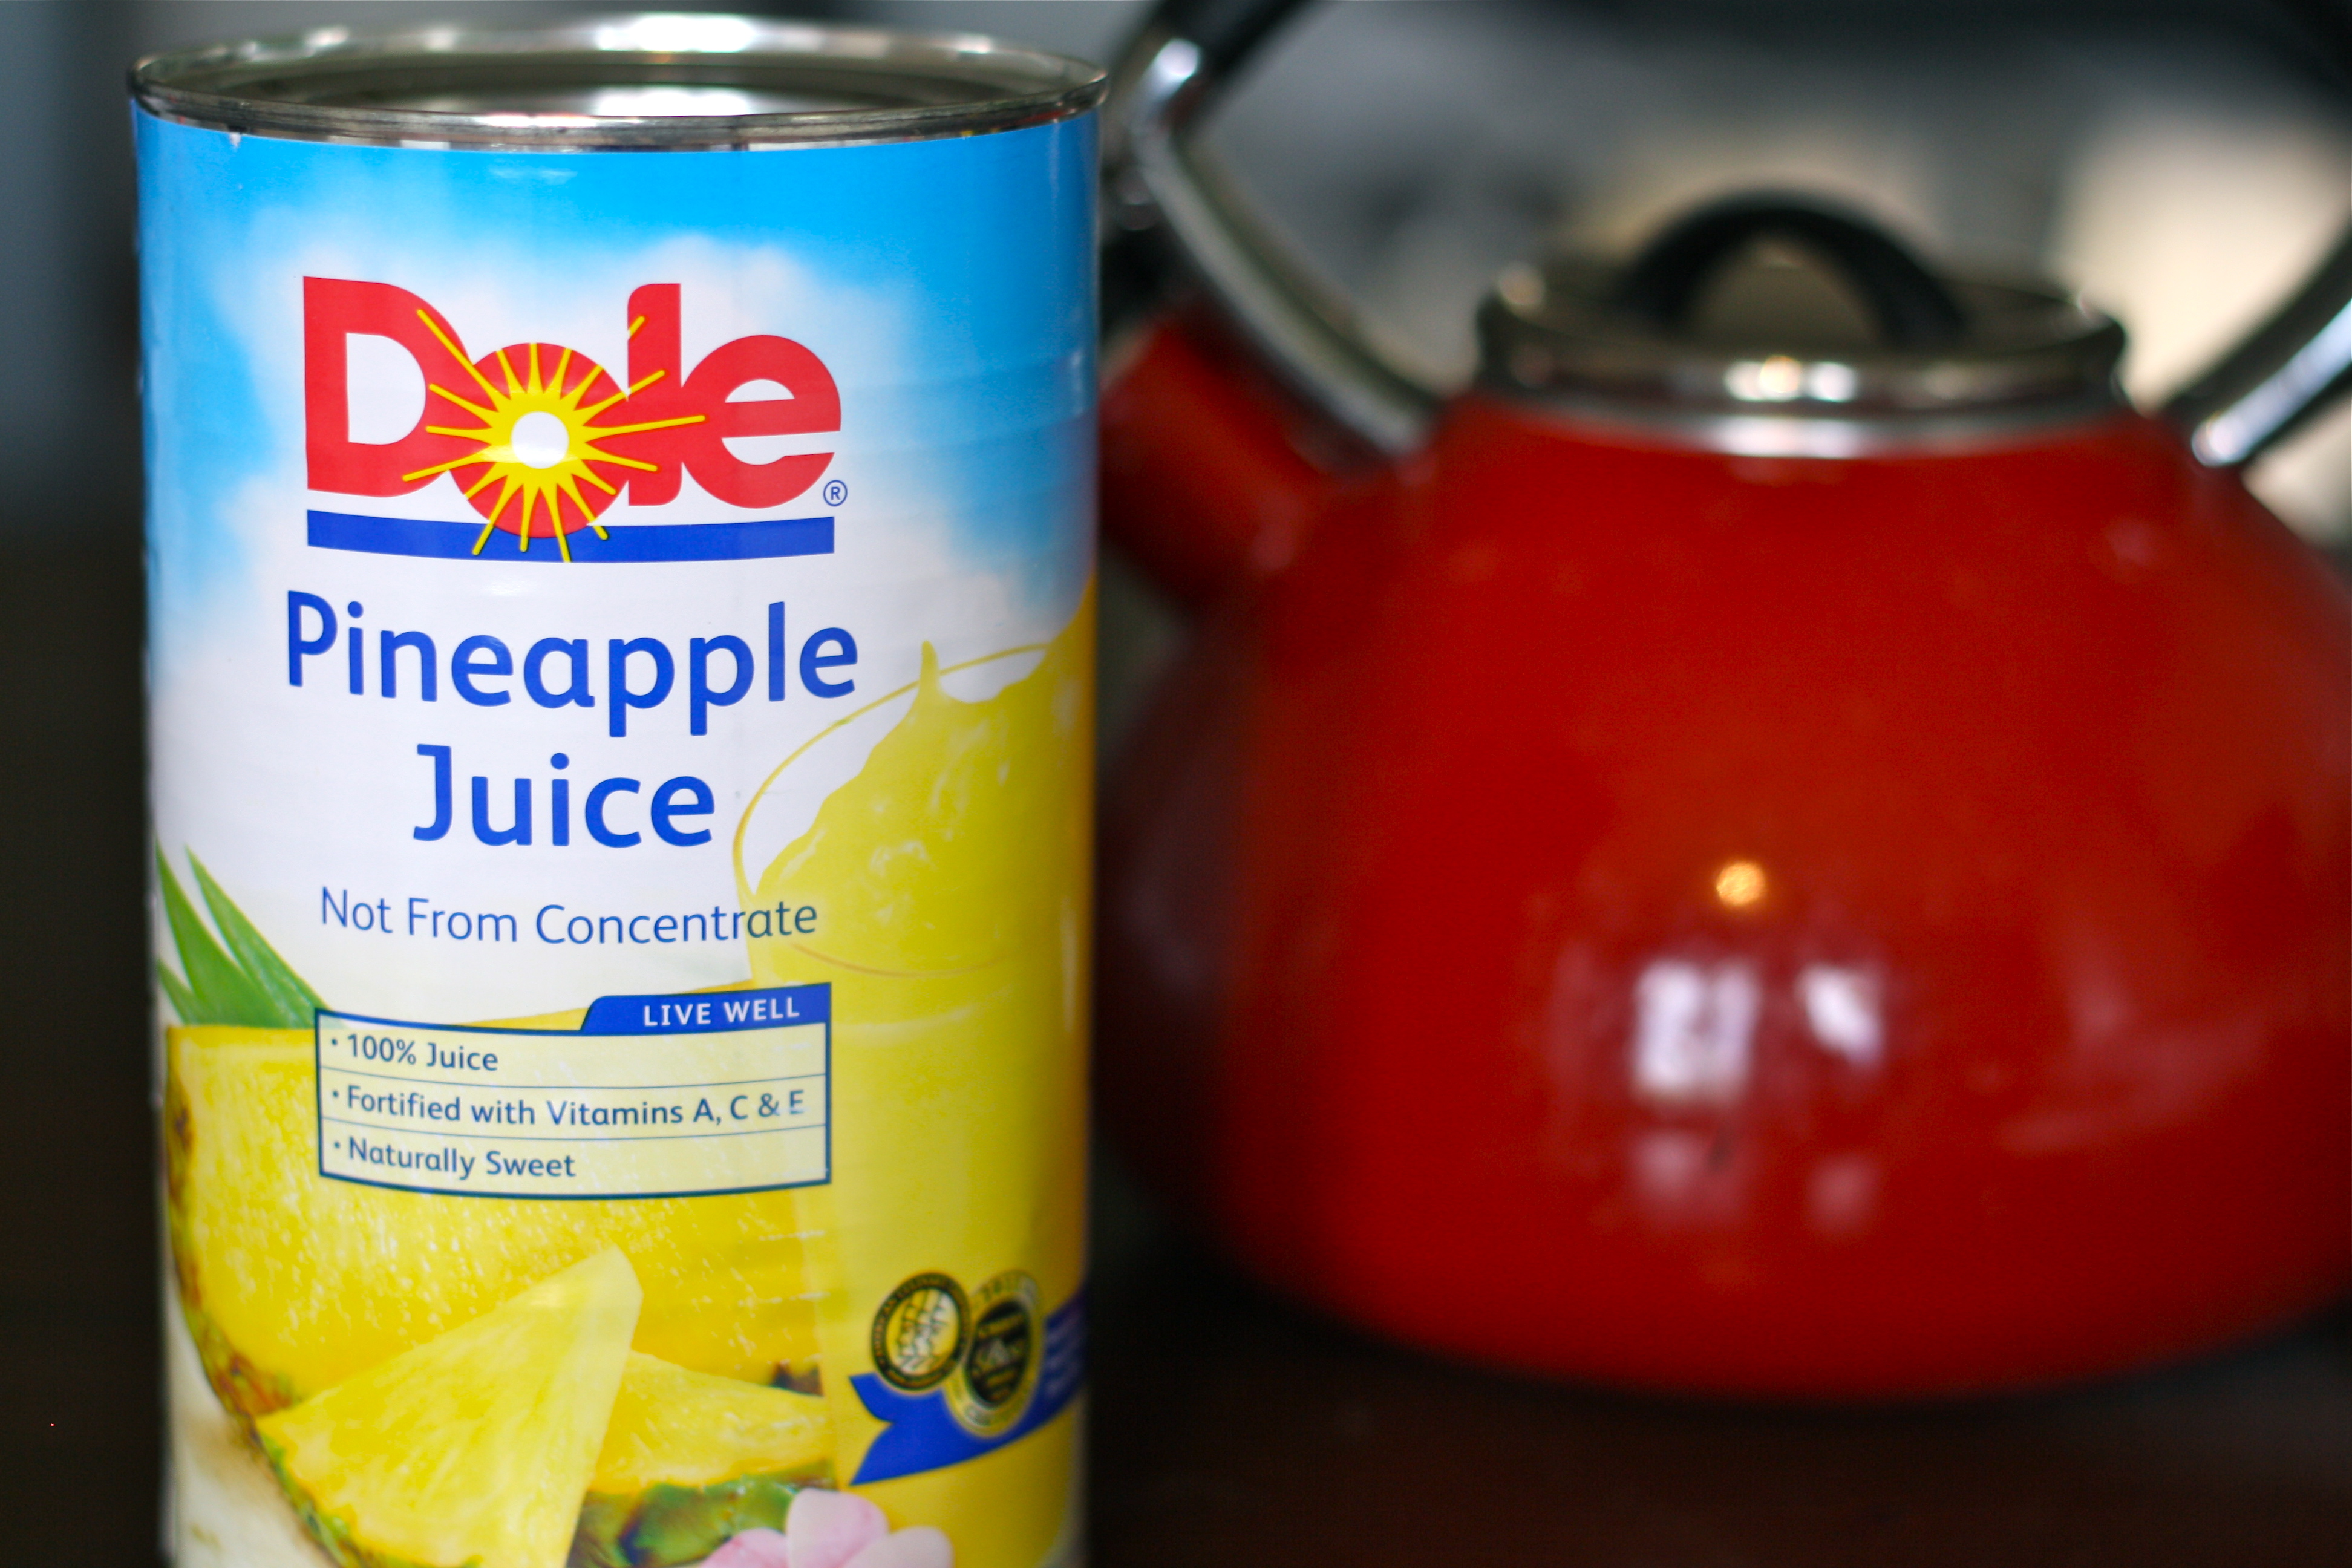
    Then add a quart (4 cups) pineapple juice.  {This 2-quart can is the least expensive way to buy it, so I just store the remaining quart in my fridge for next week’s batch.} 
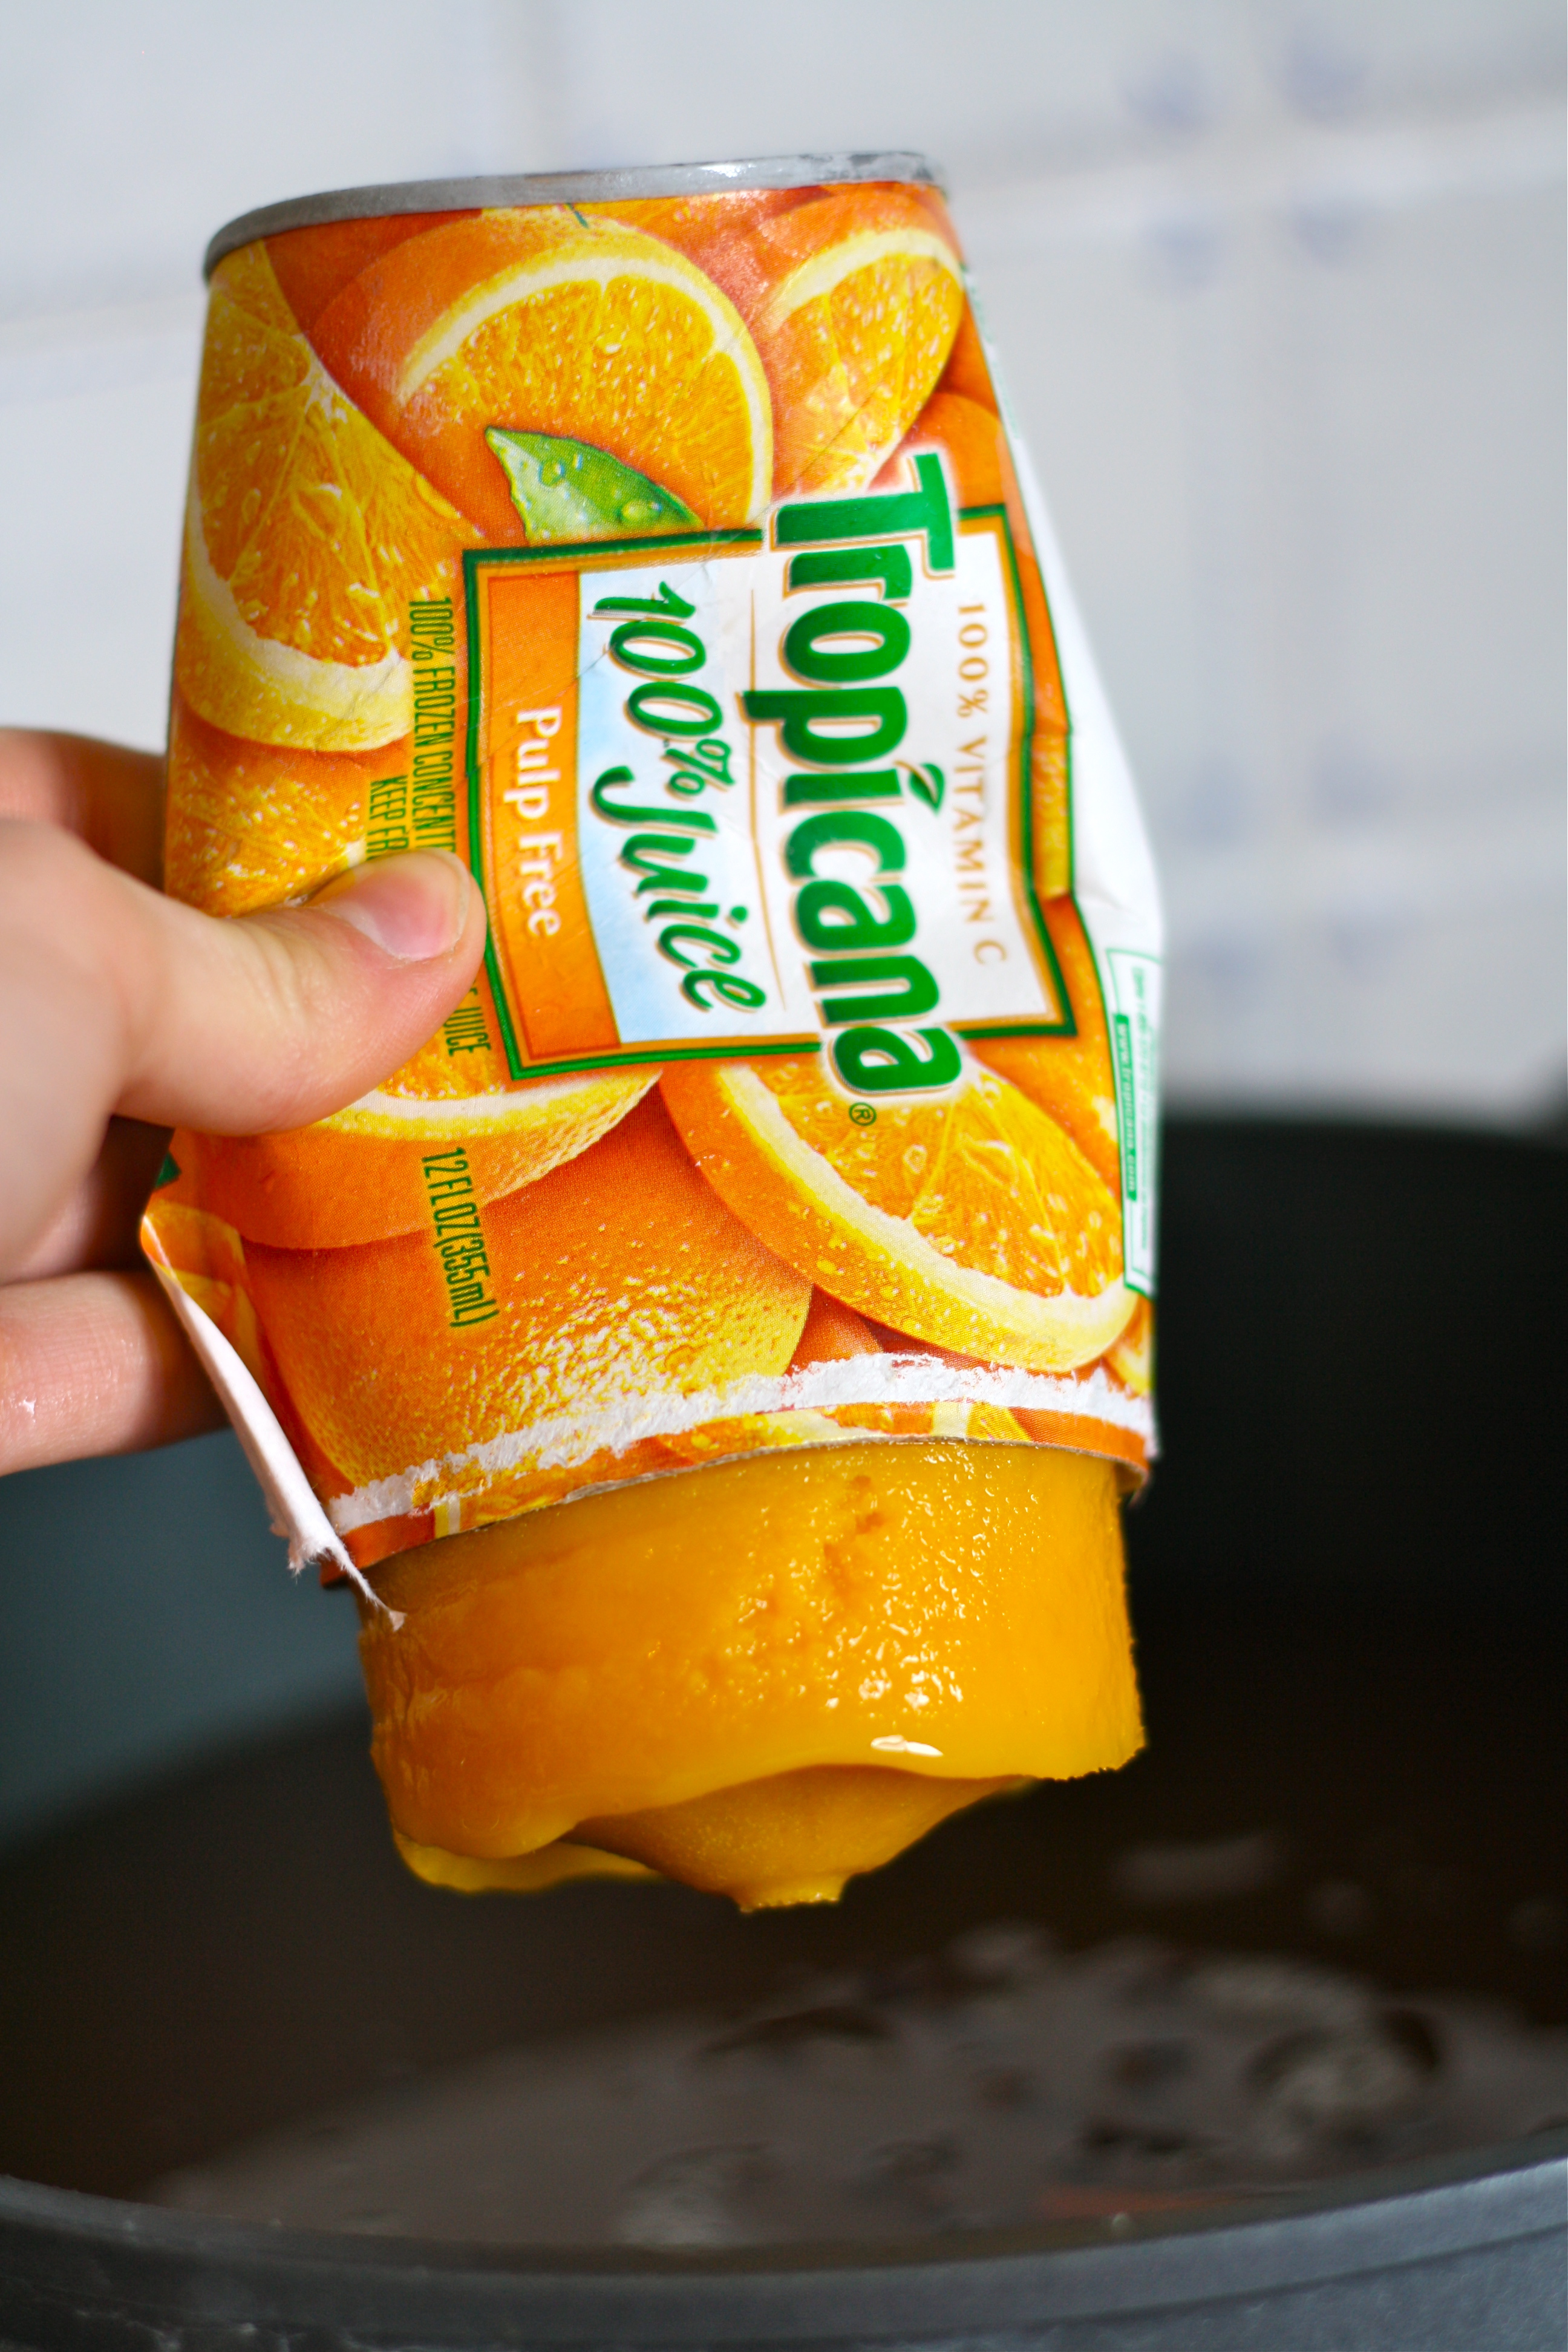
    And now my favorite part: half a can of frozen OJ concentrate.  {Again, you only need 6 oz, so I buy the cheapest 12 oz size, squeeze out half of it, and refreeze the remainder for the next batch.} 

    Toss in 8 cinnamon sticks.

    And 27 whole cloves.  Note: I don’t know where the original recipe came up with 27 cloves.  I just count out about 30 and toss ’em in.  Tastes the same, as far as I can tell.  Please do let me know if the three extra cloves make a big difference to you.
    And that’s it for ingredients!  I let it simmer on the stove for a couple of hours and savor the spicy-sweet aroma  filling our house.  After your wassail is sufficiently brewed, pour a steaming cup into your favorite mug!  Sip it and savor it, perhaps while enjoying some fresh strawberries from your local market.  Mmmm…
    *Christmas Wassail
    (makes about 20 servings)

    INGREDIENTS:

    1 gallon apple cider
    27 whole cloves
    8 cinnamon sticks
    1 quart pineapple juice
    1 can (6 ounce size) frozen orange juice concentrate

    PREPARATION:

    Mix all ingredients in a large crockpot and simmer for about 8 hours, or brew on the stove for about 2 hours. Serve hot.

    3 :: in eat this, holidays

    Powered by WordPress. Designed by WooThemes