Archive | arts and crafts

happy halloween!


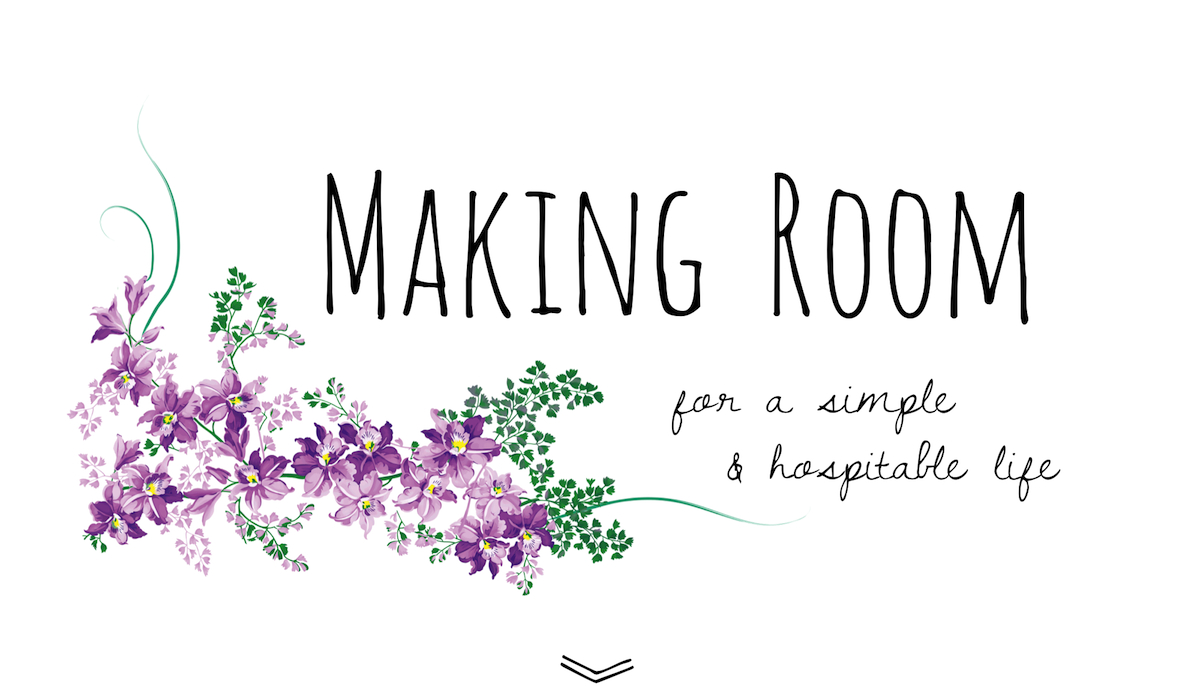
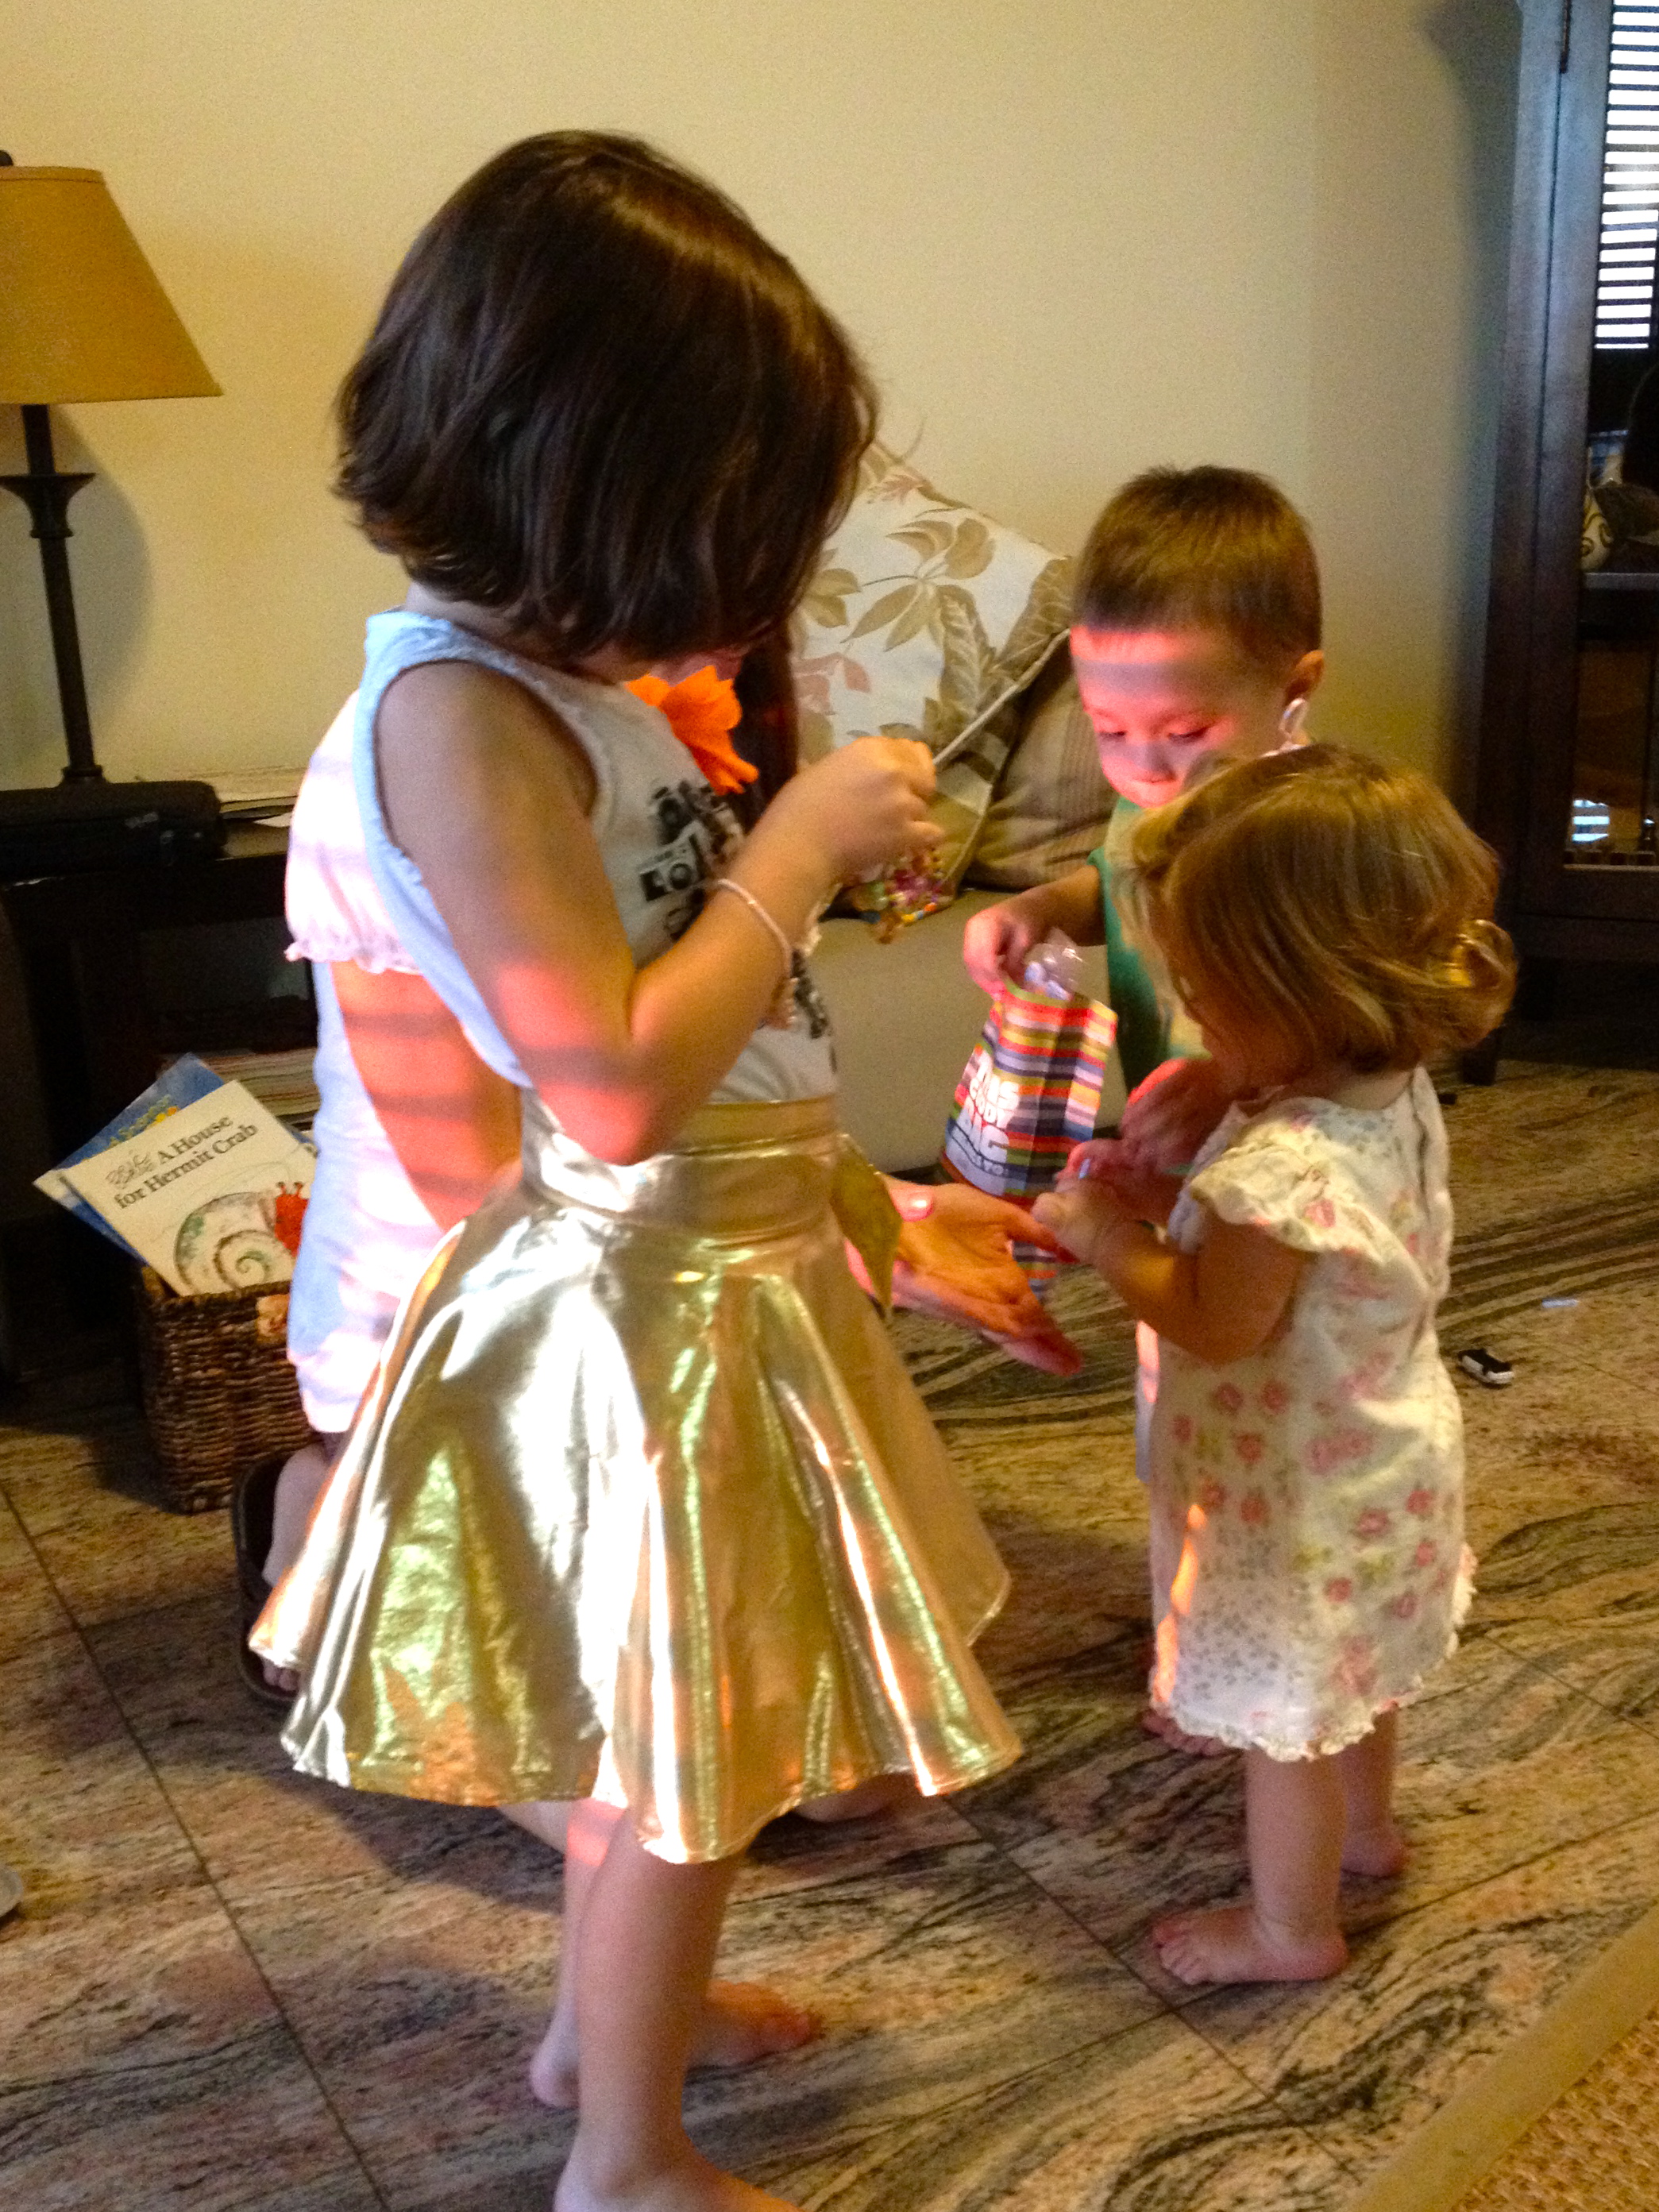
Say hello to our little Dorothy from The Wizard of Oz!  She got to show off her costume last night at a fun Halloween party some friends of ours hosted.  I think she was deee-lighted about all the toys and kids and couldn’t care less about anything else, including the candy.  We’ll keep the illusion going for another year or two that Halloween has nothing to do with candy…

As of 12pm on Halloween, Lena did not have a costume, and the party started at 5pm.  At the store earlier that day I had looked half-heartedly at costumes, but the crafter in me said, “You have to make a costume!  Even if it’s a brown paper bag… you’ve got to make something!  Come on!”

Back at home, I dejectedly searched for “last minute homemade Halloween costume.”  (It’s not a fun search to make.)  Eventually I settled on this cute snail costume even though I secretly suspected Lena wouldn’t wear it.  I don’t know many 1.5-year-olds who will keep a hairband on their heads or a “backpack” on their backs.

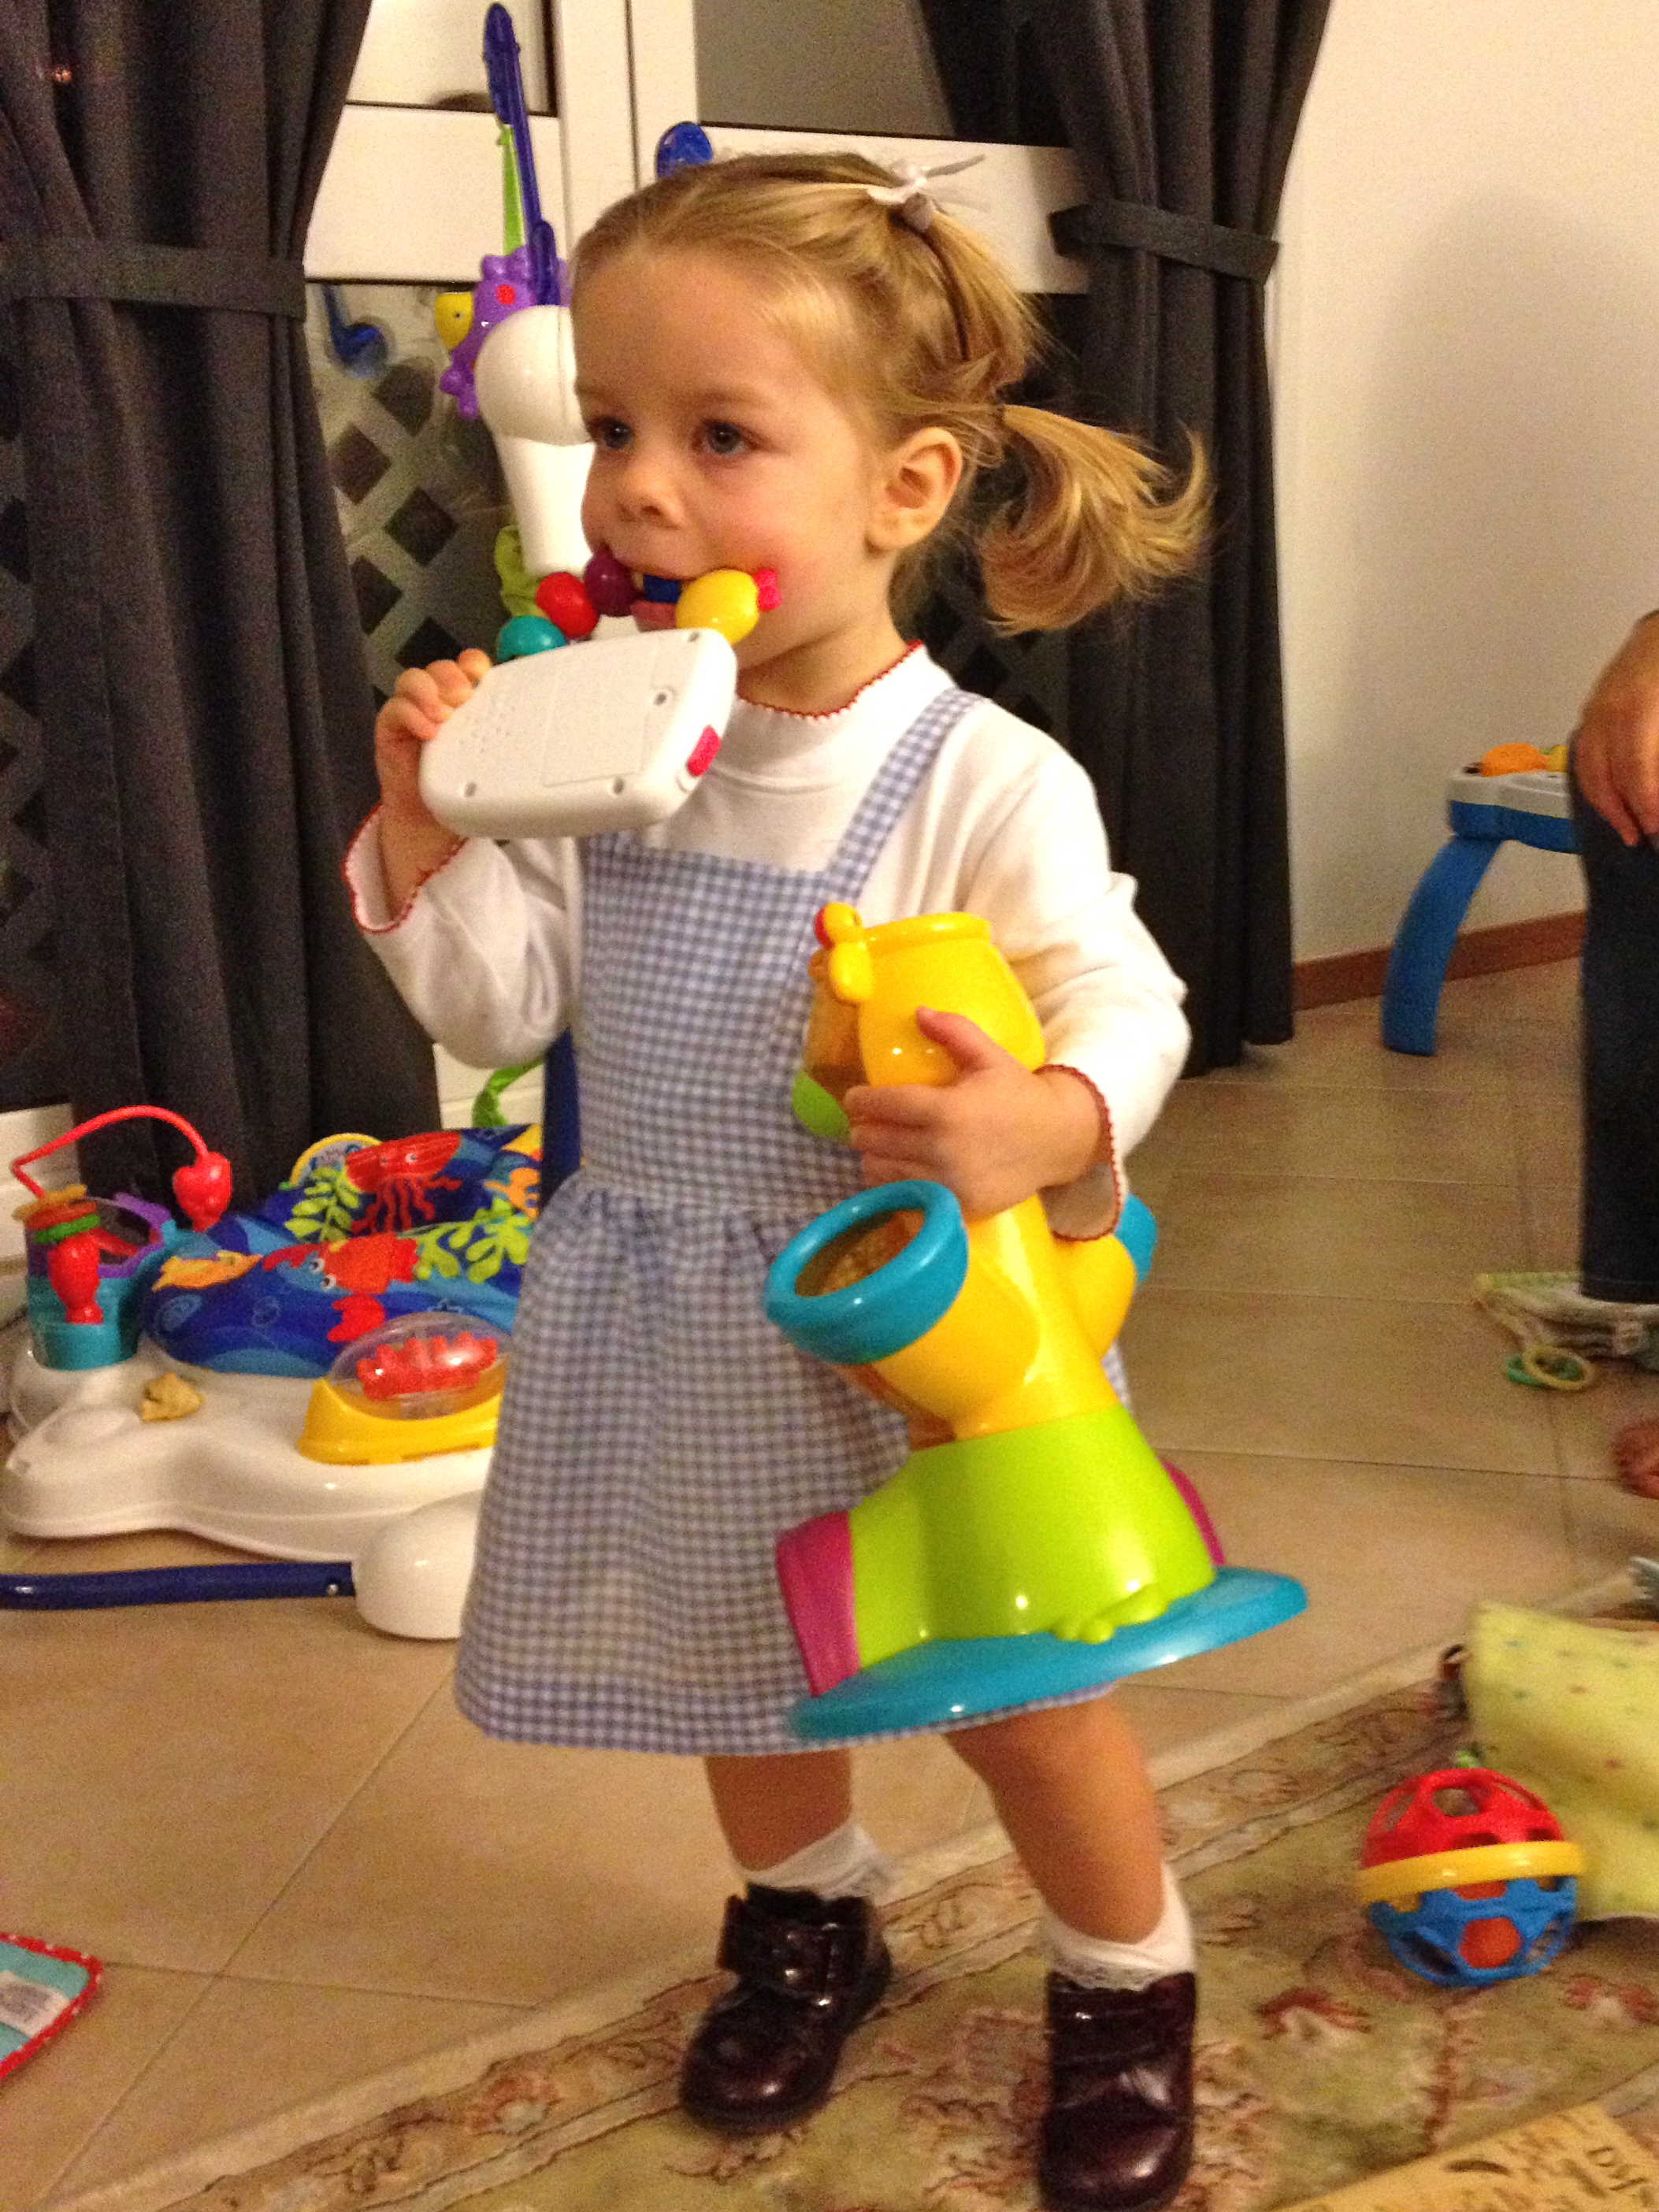
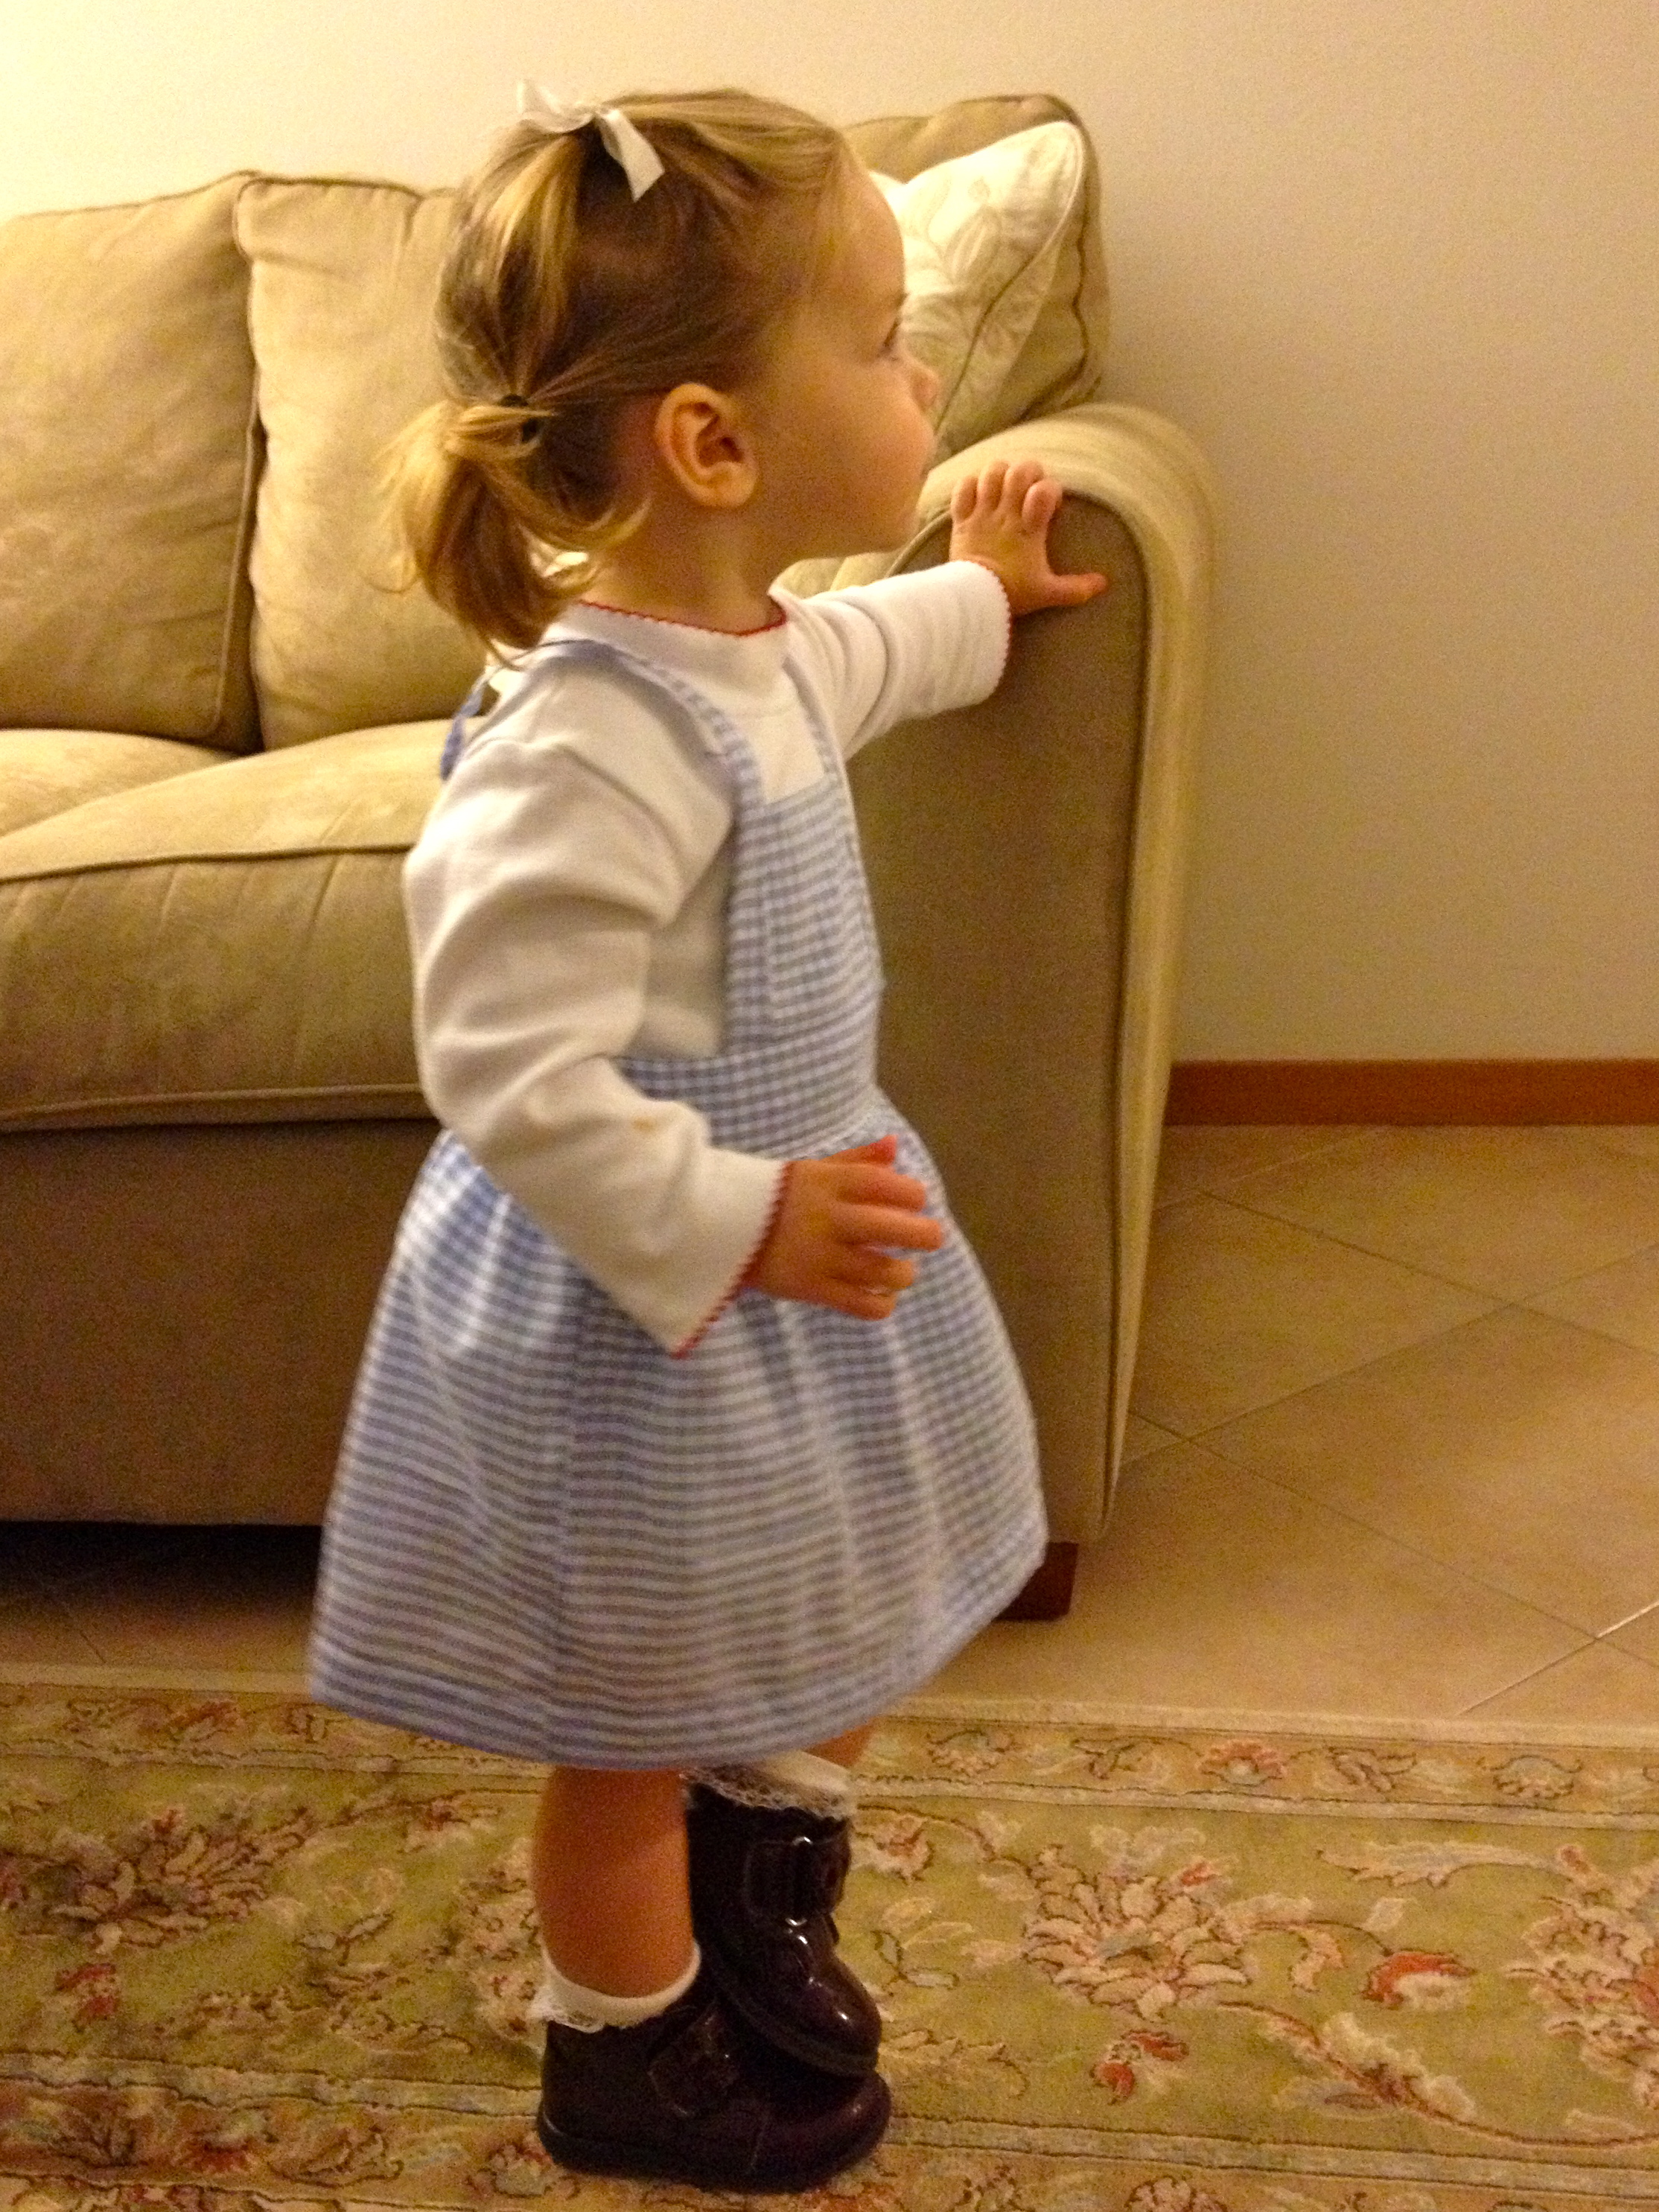
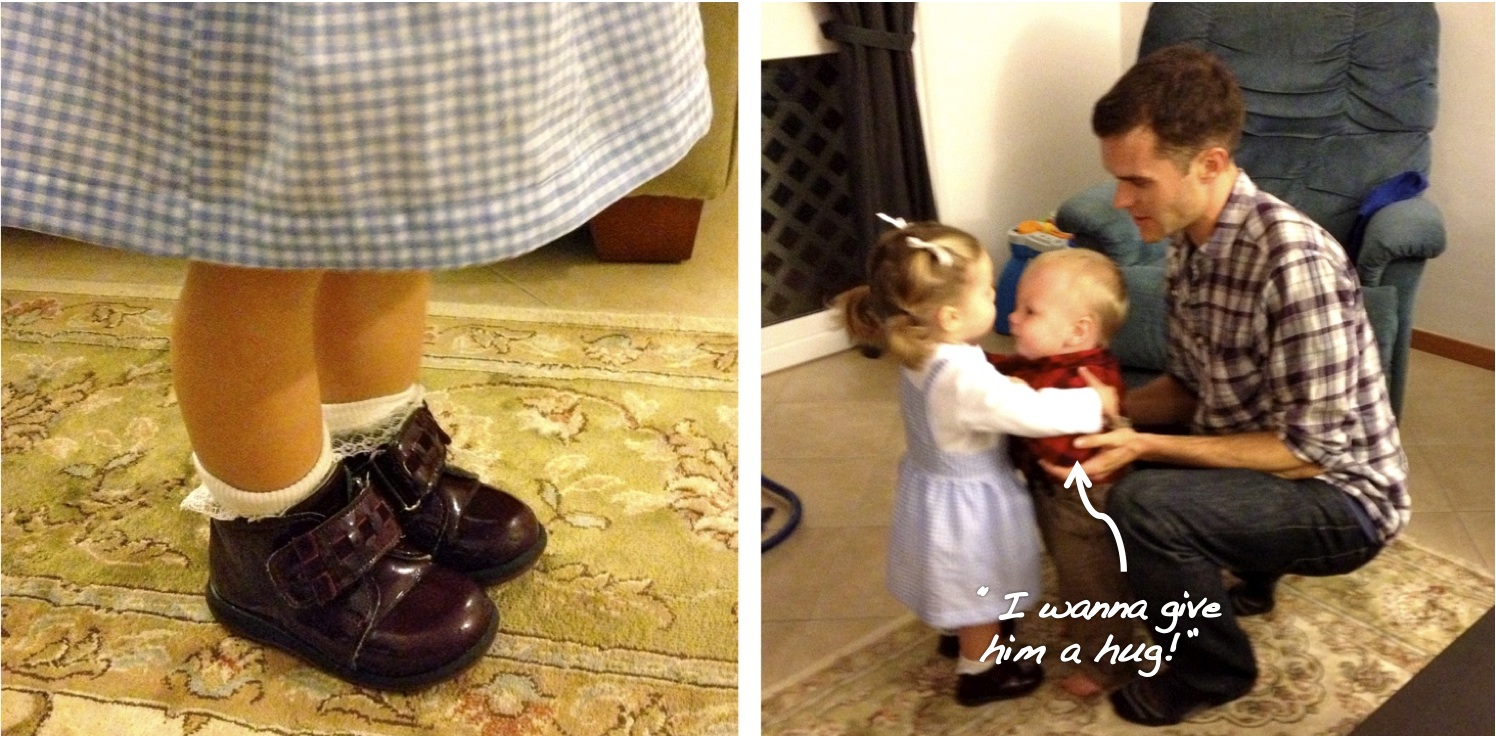
As a last ditch effort, I pulled open my fabric drawer and saw this cute blue-and-white gingham.  All at once the pieces fell into place.  Dorothy!  “I have a white blouse that would work… and a basket she can carry with a stuffed animal inside to be Toto… and I can put her hair in pigtails… and she has maroon leather shoes that will be a bit of a stretch, but a) I just couldn’t put red glitter on them even if I owned some and b) they’re so stinkin’ cute that no one will care….” 

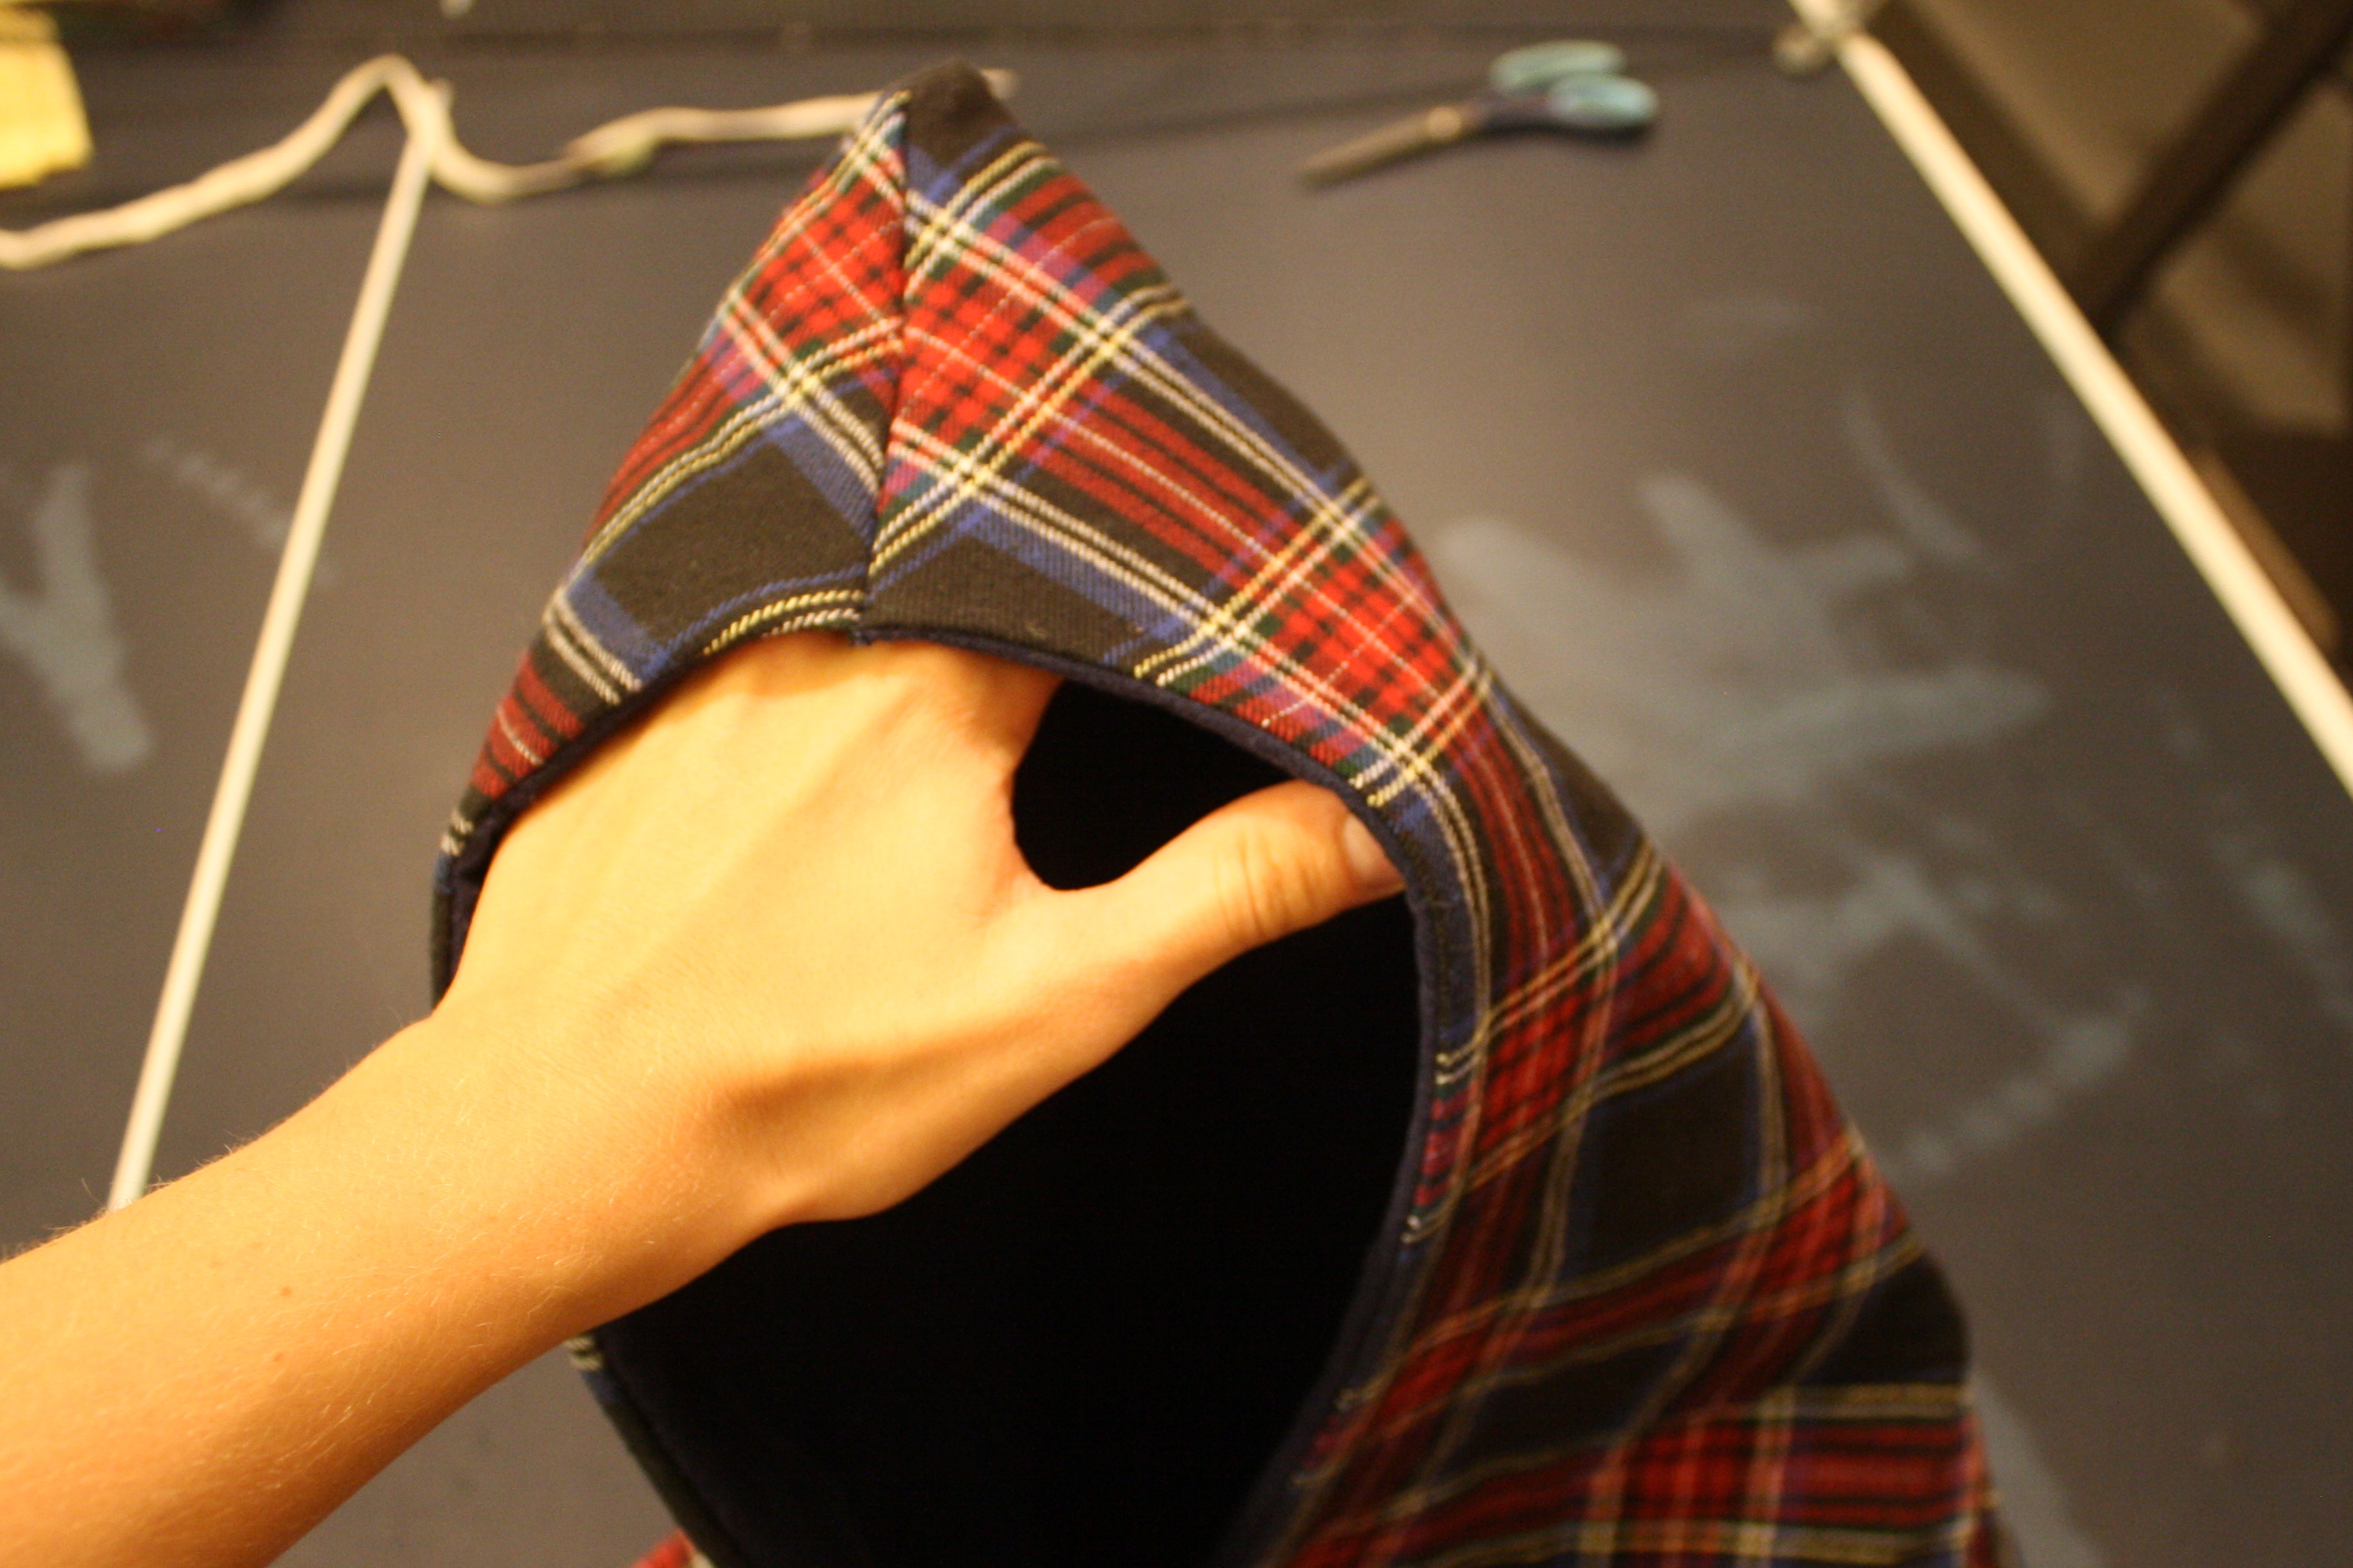
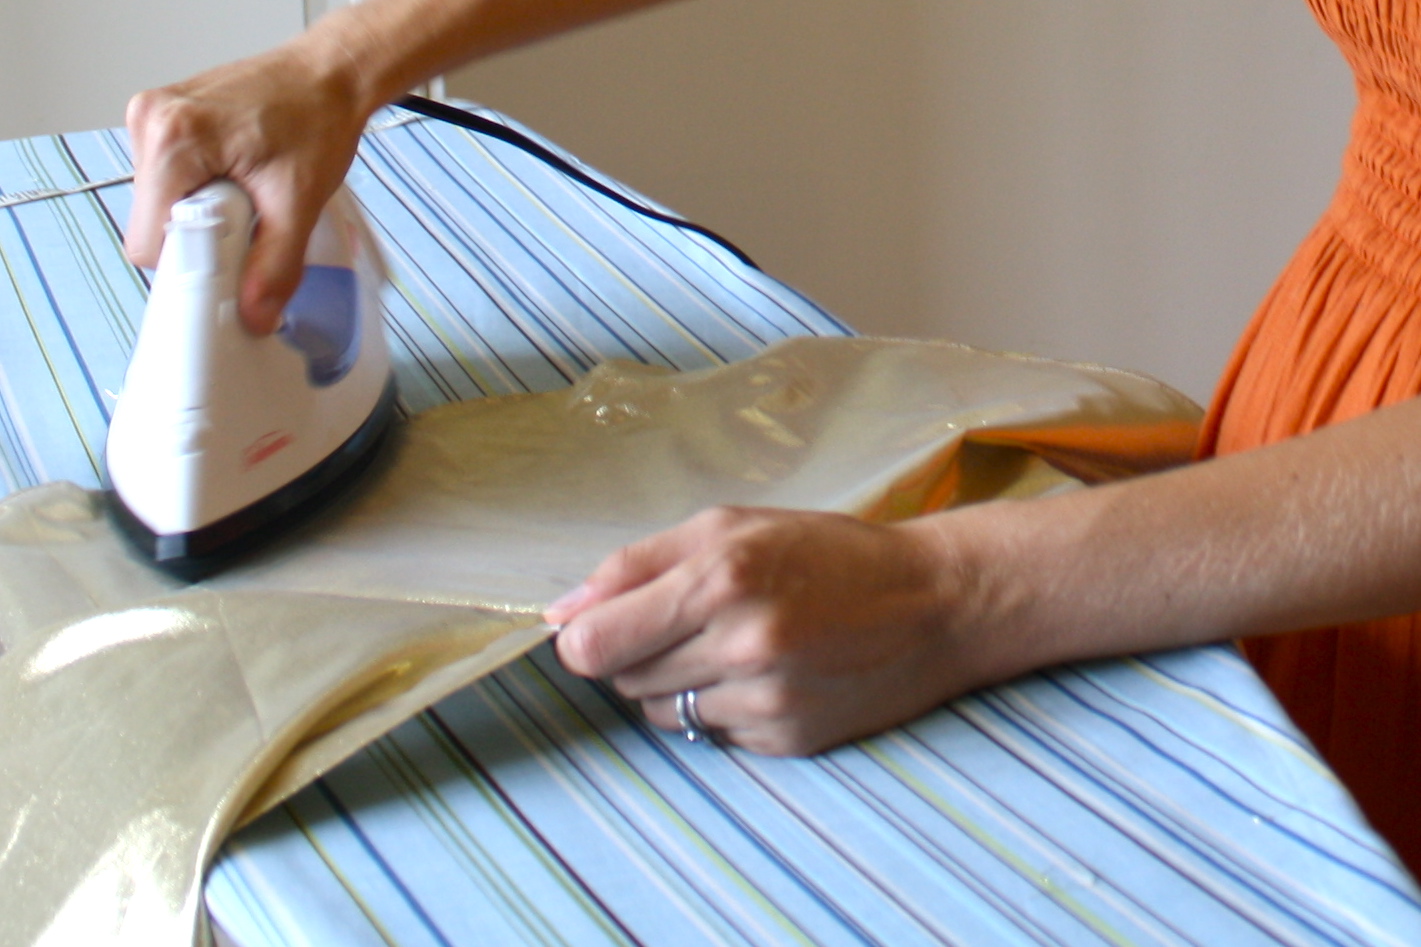
Now the question remained: could I make her a dress from this piece of fabric??  I stared at the fabric and then studied photos of Dorothy, and very quickly the whole idea came together.  I pulled out my sewing machine and shears, cut up the fabric into a few simple rectangles, and started sewing everything together.  In a couple of hours I was able to craft something that fit her, even despite the fact that the only thing she wanted to do with the measuring tape was put it around her neck. 

I’m proud of it!  At any rate, it’s better than her Halloween costume last year

14 :: in arts and crafts, holidays, Lena

making a car seat swaddle blanket

Although you may not believe it, Sicily gets cold.  No snow, granted, but it’s still in the 40s-50s F all winter long, and winter lasts from late November to late March.  I’m concerned about keeping our newborn baby boy warm and cozy this winter.  During our time here in the States, I have been buying up warm winter things, such as this darling little fleece bunting (found it for $10… perfect indoor lounge wear!) and have finally begun making a couple things for him, too.

Just the other day my mom and I made a hooded car seat blankie by following the instructions on one of my favorite blogs: The Complete Guide to Imperfect Homemaking.  (I’ll be guest posting there in November!)  The steps in Kelly’s hooded blanket tutorial are easy to follow and the results are so cozy for my little babe.  Follow along while I show you what we did…

I chose navy blue flannel for the inside of the blanket and a blue-and-red plaid for the outside.  We began by drawing a curved shape on a folded square meter of flannel.  I then cut along the shape I’d drawn.

Proof that we followed the tutorial every step of the way!  The fabric now has the shape that my final product will take.

We laid the flannel pieces out on top of some cotton batting and then flattened the flannel onto the batting.  
Note: We might have seriously damaged the ping pong table as we ironed on it.  Be a little smarter than we felt at 10pm that night and use your ironing board instead!
 

A break to admire the kitty cat, Luna. 

After we finished smoothing, ironing, and ruining the ping pong table, we pinned the flannel to the batting and then I sewed around the entire blanket.  We then flipped it inside out and…

… sewed a straight line across the top of one of the corners.  This, when trimmed and flipped around, made a hood!

So cute.  We’re almost done. I top-stitched around the entire blanket to give it a beautiful finished edge.

Meanwhile my mom measured the distance between the straps in the car seat so that we could make holes in the blanket for the straps to fit through.  More tracing and measuring.  I then sewed around the markings.

My mom used a rotatory board and cutter to slice along the marking lines we’d made.  And that’s it!

 
We put it into the car seat and the straps all fit through the openings we’d just cut in the blanket.  The blanket will wrap around my little boy so nicely and keep him snug and warm in trips in the car all winter.  Plus he’ll look so handsome in warm plaid flannel! 

Now all I need is a baby to wrap up in it.  Baby boy, whenever you decide you’re ready around January 30, I’m so excited to meet you!

10 :: in arts and crafts, Baby Numero Due

making a car seat swaddle blanket

Although you may not believe it, Sicily gets cold.  No snow, granted, but it’s still in the 40s-50s F all winter long, and winter lasts from late November to late March.  I’m concerned about keeping our newborn baby boy warm and cozy this winter.  During our time here in the States, I have been buying up warm winter things, such as this darling little fleece bunting (found it for $10… perfect indoor lounge wear!) and have finally begun making a couple things for him, too.

Just the other day my mom and I made a hooded car seat blankie by following the instructions on one of my favorite blogs: The Complete Guide to Imperfect Homemaking.  (I’ll be guest posting there in November!)  The steps in Kelly’s hooded blanket tutorial are easy to follow and the results are so cozy for my little babe.  Follow along while I show you what we did…

I chose navy blue flannel for the inside of the blanket and a blue-and-red plaid for the outside.  We began by drawing a curved shape on a folded square meter of flannel.  I then cut along the shape I’d drawn.

Proof that we followed the tutorial every step of the way!  The fabric now has the shape that my final product will take.

We laid the flannel pieces out on top of some cotton batting and then flattened the flannel onto the batting.  
Note: We might have seriously damaged the ping pong table as we ironed on it.  Be a little smarter than we felt at 10pm that night and use your ironing board instead!
 

A break to admire the kitty cat, Luna. 

After we finished smoothing, ironing, and ruining the ping pong table, we pinned the flannel to the batting and then I sewed around the entire blanket.  We then flipped it inside out and…

… sewed a straight line across the top of one of the corners.  This, when trimmed and flipped around, made a hood!

So cute.  We’re almost done. I top-stitched around the entire blanket to give it a beautiful finished edge.

Meanwhile my mom measured the distance between the straps in the car seat so that we could make holes in the blanket for the straps to fit through.  More tracing and measuring.  I then sewed around the markings.

My mom used a rotatory board and cutter to slice along the marking lines we’d made.  And that’s it!

 
We put it into the car seat and the straps all fit through the openings we’d just cut in the blanket.  The blanket will wrap around my little boy so nicely and keep him snug and warm in trips in the car all winter.  Plus he’ll look so handsome in warm plaid flannel! 

Now all I need is a baby to wrap up in it.  Baby boy, whenever you decide you’re ready around January 30, I’m so excited to meet you!

12 :: in arts and crafts, Baby Numero Due

sewing a skirt for Elise

I have a rather unfortunate relationship with my sewing machine.  I love it and respect it and am frequently inspired to use it.  But, until a couple of weeks ago, I never had sewn anything on it.  This is after my mother got me this beautiful refurbished machine as a birthday gift 5 years ago!  (Dearest mother of mine, if you didn’t know this before, I’m really sorry.) 

Driven by desperation to make a last-minute-but-priceless birthday gift for a little friend, I got out the machine and opened up the manual.  After a little bit of coaxing and studying, the machine came to life and began to do the same things my mother’s wonderful old Bernina did for me all throughout my childhood. 

I made Elise a skirt using this pattern, and it really was almost as easy as that blog’s crafty mama claims it will be.  Unless, of course, you have no elastic and nowhere to buy any, so at the last minute you have to convert it into a wrap skirt.  

And the best part of all of it was that Elise loved the skirt!  She wore it that evening at her birthday party.  And then she melted my heart the next day when she walked into church wearing it too.

Lena, what would you like your mama to sew for you?  How about some fabric beach balls?  Comin’ right up!

9 :: in arts and crafts, friends

sewing a skirt for Elise

I have a rather unfortunate relationship with my sewing machine.  I love it and respect it and am frequently inspired to use it.  But, until a couple of weeks ago, I never had sewn anything on it.  This is after my mother got me this beautiful refurbished machine as a birthday gift 5 years ago!  (Dearest mother of mine, if you didn’t know this before, I’m really sorry.) 

Driven by desperation to make a last-minute-but-priceless birthday gift for a little friend, I got out the machine and opened up the manual.  After a little bit of coaxing and studying, the machine came to life and began to do the same things my mother’s wonderful old Bernina did for me all throughout my childhood. 

I made Elise a skirt using this pattern, and it really was almost as easy as that blog’s crafty mama claims it will be.  Unless, of course, you have no elastic and nowhere to buy any, so at the last minute you have to convert it into a wrap skirt.  

And the best part of all of it was that Elise loved the skirt!  She wore it that evening at her birthday party.  And then she melted my heart the next day when she walked into church wearing it too.

Lena, what would you like your mama to sew for you?  How about some fabric beach balls?  Comin’ right up!

Related Posts Plugin for WordPress, Blogger...
8 :: in arts and crafts, friends

Powered by WordPress. Designed by WooThemes