Just the other day my mom and I made a hooded car seat blankie by following the instructions on one of my favorite blogs: The Complete Guide to Imperfect Homemaking. (I’ll be guest posting there in November!) The steps in Kelly’s hooded blanket tutorial are easy to follow and the results are so cozy for my little babe. Follow along while I show you what we did…


I chose navy blue flannel for the inside of the blanket and a blue-and-red plaid for the outside. We began by drawing a curved shape on a folded square meter of flannel. I then cut along the shape I’d drawn.

Proof that we followed the tutorial every step of the way! The fabric now has the shape that my final product will take.


A break to admire the kitty cat, Luna.


After we finished smoothing, ironing, and ruining the ping pong table, we pinned the flannel to the batting and then I sewed around the entire blanket. We then flipped it inside out and…

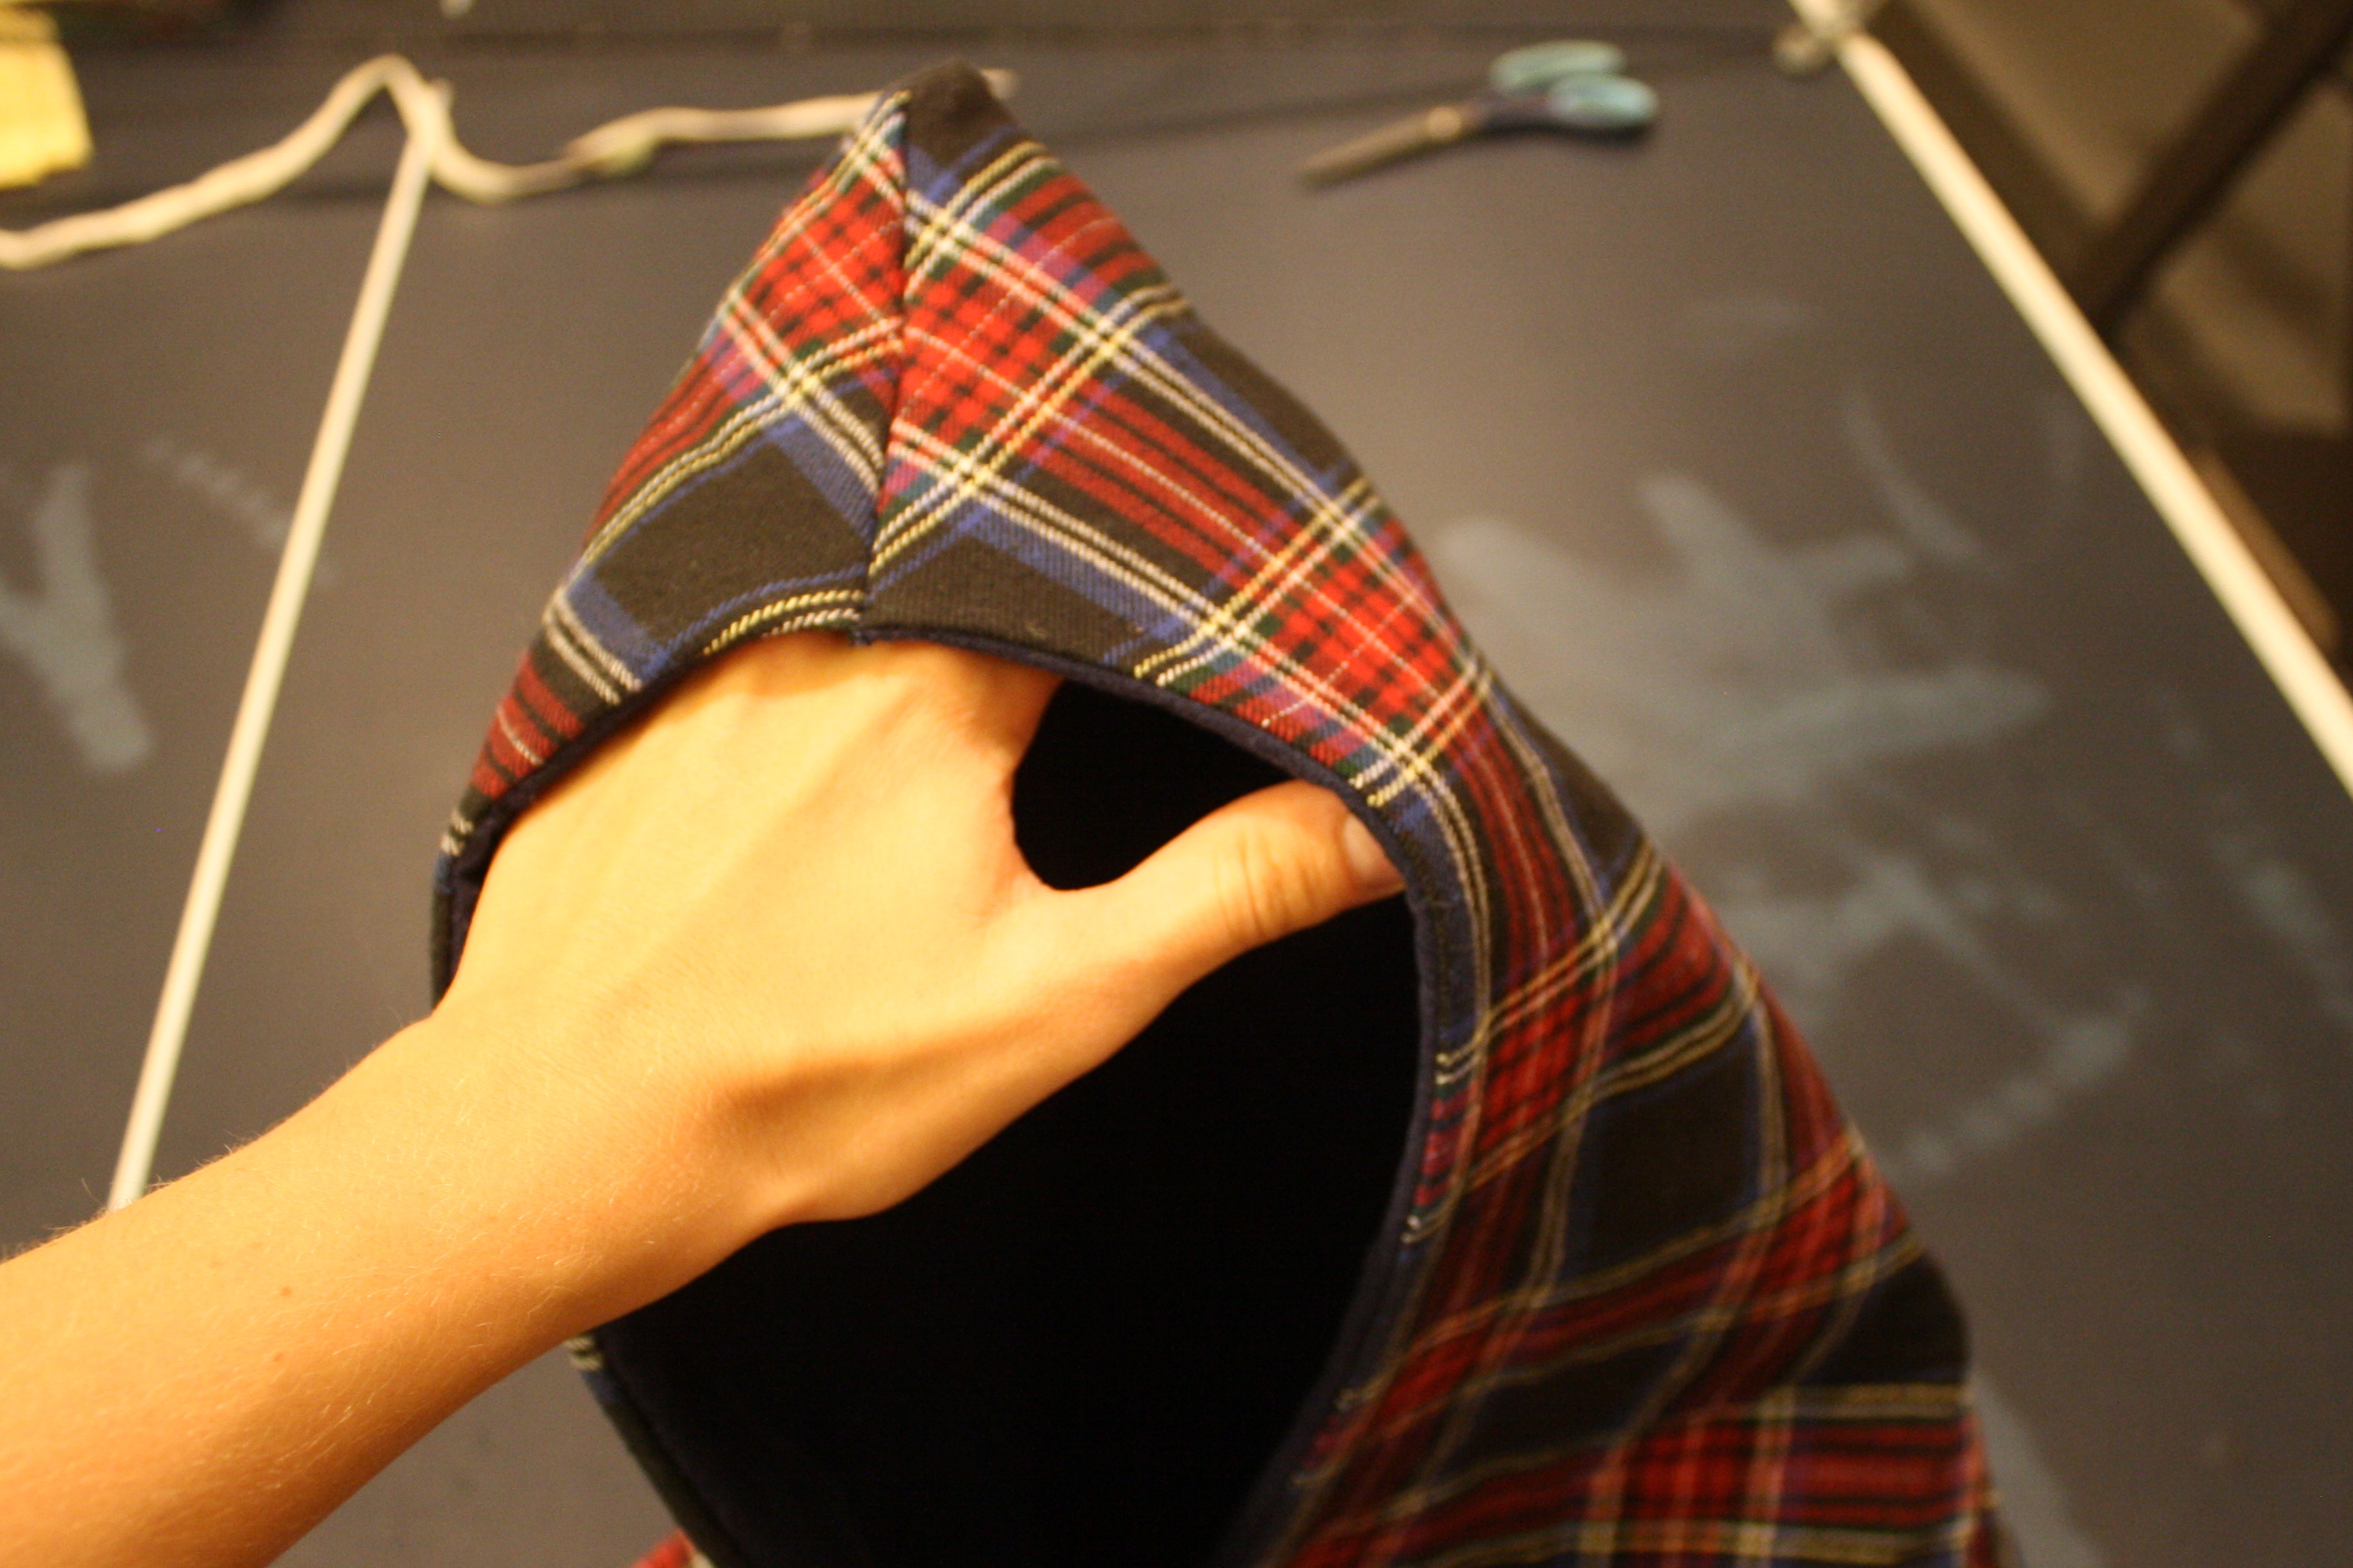
… sewed a straight line across the top of one of the corners. This, when trimmed and flipped around, made a hood!
So cute. We’re almost done. I top-stitched around the entire blanket to give it a beautiful finished edge.


Meanwhile my mom measured the distance between the straps in the car seat so that we could make holes in the blanket for the straps to fit through. More tracing and measuring. I then sewed around the markings.

My mom used a rotatory board and cutter to slice along the marking lines we’d made. And that’s it!


We put it into the car seat and the straps all fit through the openings we’d just cut in the blanket. The blanket will wrap around my little boy so nicely and keep him snug and warm in trips in the car all winter. Plus he’ll look so handsome in warm plaid flannel!
Now all I need is a baby to wrap up in it. Baby boy, whenever you decide you’re ready around January 30, I’m so excited to meet you!